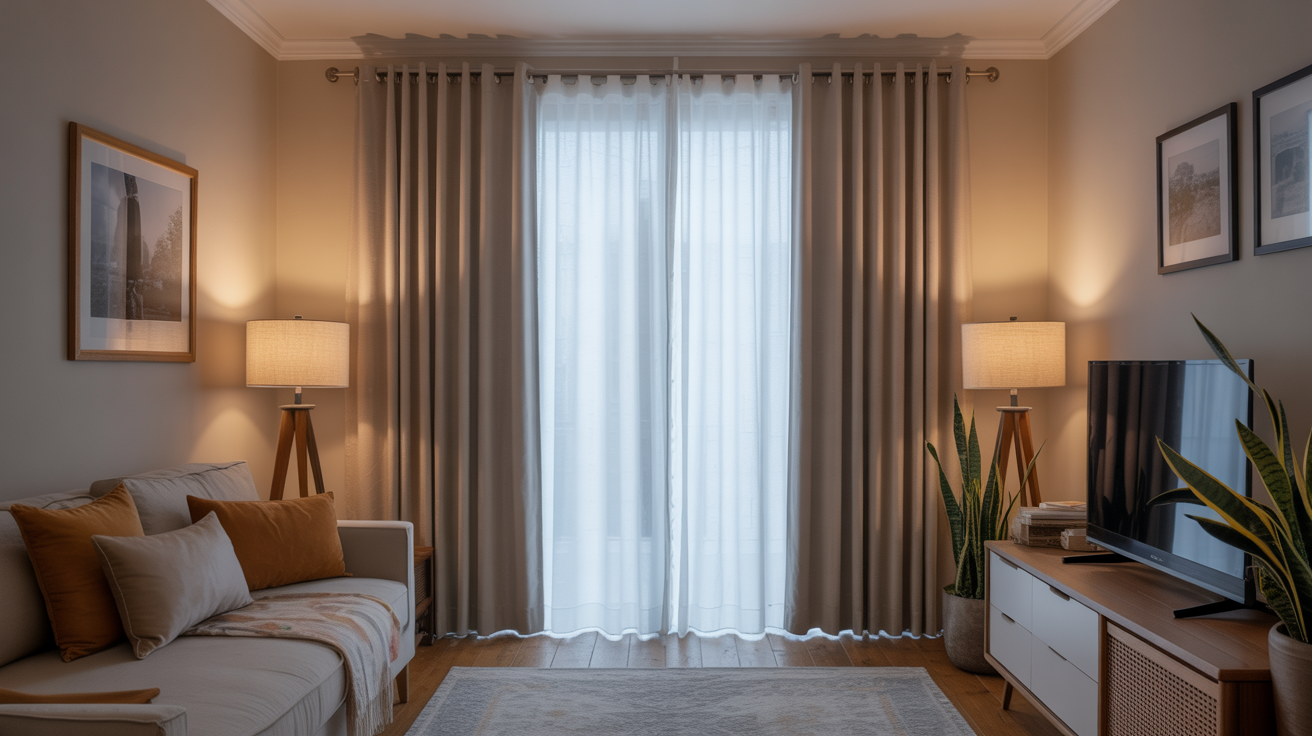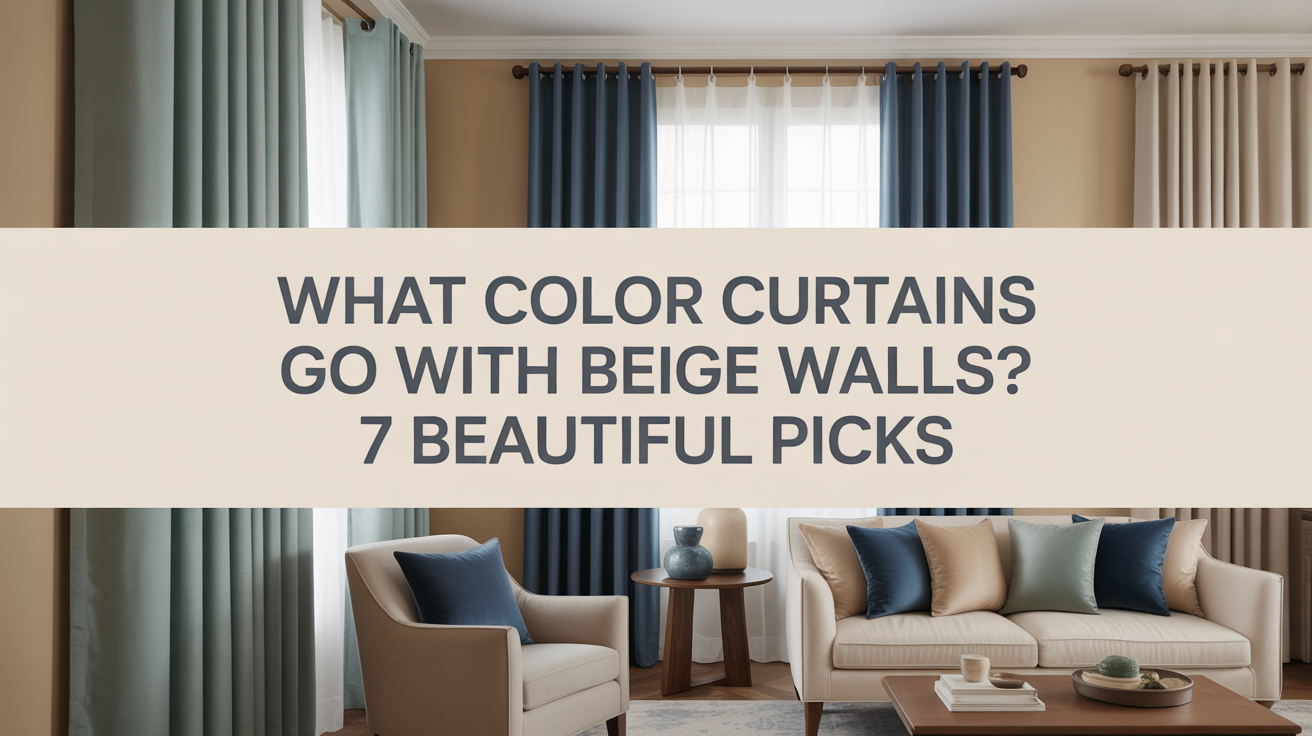
Beige walls are everywhere, but finding the right curtains can feel impossible. You stand in the store, holding fabric samples, wondering if you’re about to make a huge mistake. I’ve been there too many times.
This guide shows you 7 curtain colors that actually work with beige walls. No guessing. No expensive mistakes. You’ll see real color combinations that interior designers use, plus simple tips to match your room’s style. If your beige leans warm or cool, there’s a perfect option here.
I’ve spent years testing color combinations in real homes, not just design studios. This isn’t a theory from someone.
You’ll get honest advice based on what actually looks good in everyday spaces. By the end, you’ll know exactly which curtains to buy and why they work. Your beige walls are about to look intentional instead of boring.
Why Beige Walls Are So Popular?
Beige is a chameleon. It works in modern lofts, traditional homes, rustic cabins, and minimalist spaces. But here’s the secret: those warm undertones. Your beige might lean yellow, pink, or tan. Yellow-beige loves earthy greens. Pink-beige pairs with soft blues. Tan-beige welcomes browns and whites.
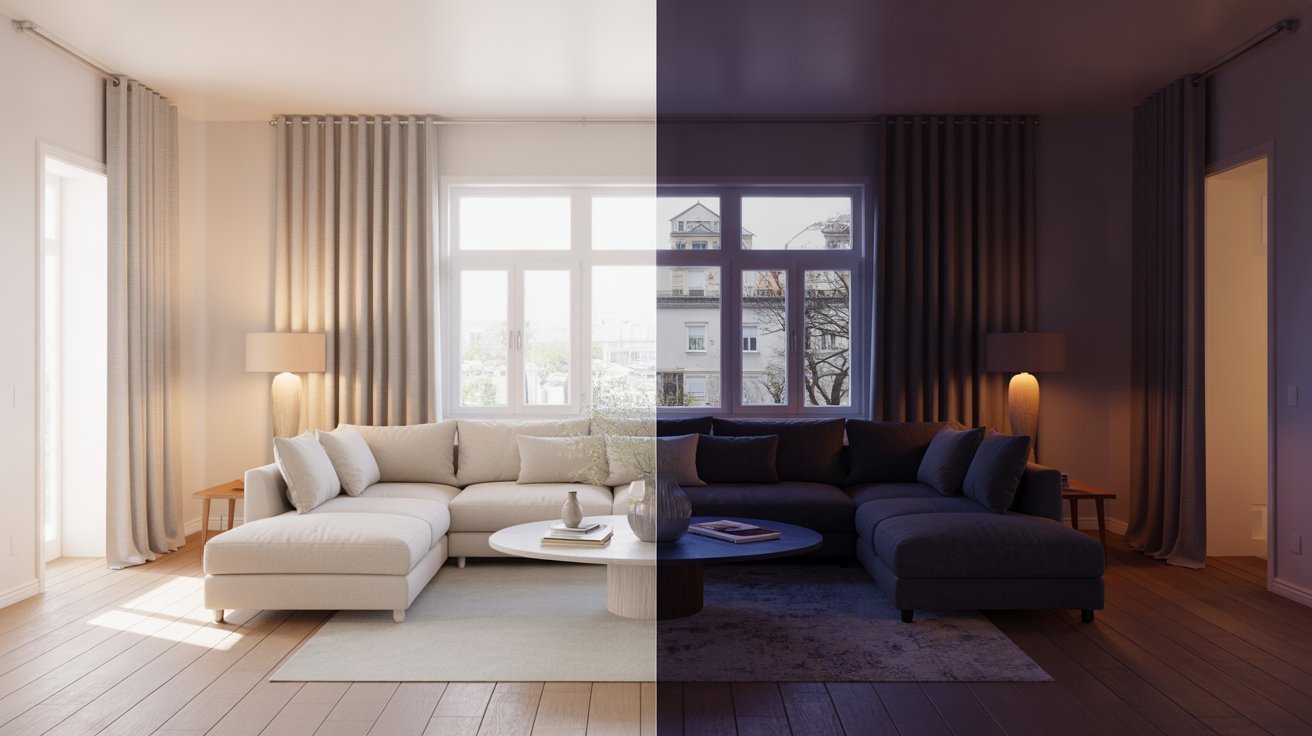
Now, lighting changes everything. Natural sunlight makes beige glow warmer. LED bulbs can make it look cooler, even gray. Check your walls in morning light and evening light before choosing curtains.
How Beige Interacts with Other Design Elements?
Beige doesn’t pick sides. It works with warm tones like terracotta. It also works with cool tones like navy. This gives you freedom.
Your beige walls already work with:
- Wood furniture (oak, walnut, pine)
- Area rugs in any pattern
- Hardwood or tile flooring
- Upholstered pieces
Your curtains have two jobs. They can blend in for serenity. Or they can contrast for personality. Neither is wrong. It’s about the mood you want.
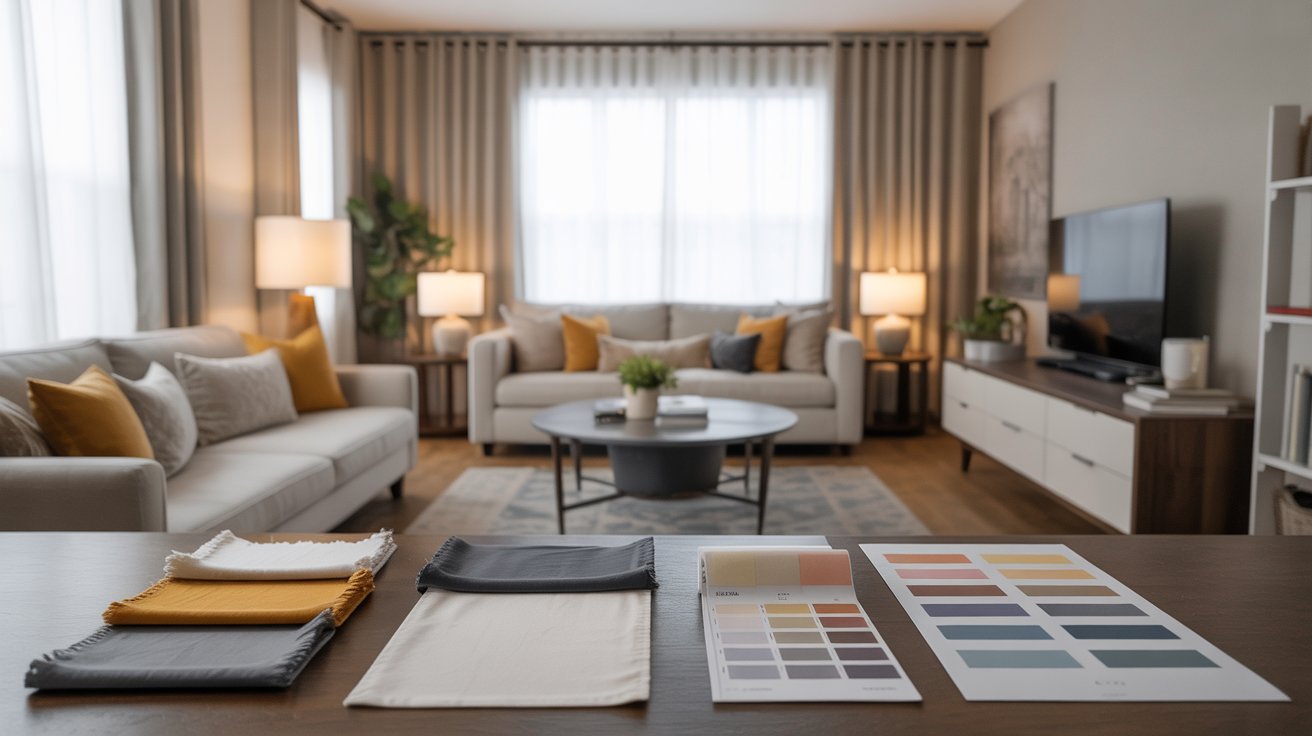
How to Choose the Right Curtain Color for Beige Walls?
Choosing curtains shouldn’t feel overwhelming. I’ve broken it down into three simple steps. Follow these, and you’ll find the perfect match.
Step 1: Identify the Undertone of Your Beige
Your beige has a hidden personality. Find it first. Hold a white piece of paper next to your wall. Does your beige look yellow? Tan? Gray? Pink? That undertone is your guide.
- Warm Beige: Pair with cool or deep tones like blue, green, or charcoal
- Cool Beige: Pair with warm accents like gold, terracotta, or taupe
This contrast creates balance. Warm walls with cool curtains. Cool walls with warm curtains. It’s that simple.
Step 2: Consider Room Size and Lighting
Size matters. So does light. Lighter curtains (ivory, cream) make small spaces feel bigger. They reflect light. Darker curtains (navy, charcoal) add coziness in large rooms. They create boundaries.
- Daylight makes beige glow warmer and richer
- Artificial light can mute beige, making it look flat or gray
- Test your curtain samples in both lighting conditions
Morning sunlight might love your gray curtains. Evening lamplight might make them look dull. Always check twice.
Step 3: Match Curtains with Room Elements

Your curtains don’t exist alone. They’re part of a team. Look at what’s already in your room: furniture, floors, and decor style.
- Furniture tone: Beige walls with dark wood pair best with ivory or taupe curtains
- Floor color: Light floors need darker curtains for contrast, dark floors need lighter curtains to balance
- Decor theme: Modern uses gray, white, or navy, Boho uses rust, mustard, or sage, Classic uses gold, cream, or taupe
Your curtains should connect these elements. Not match everything perfectly, that’s boring. But they should feel like they belong in your room.
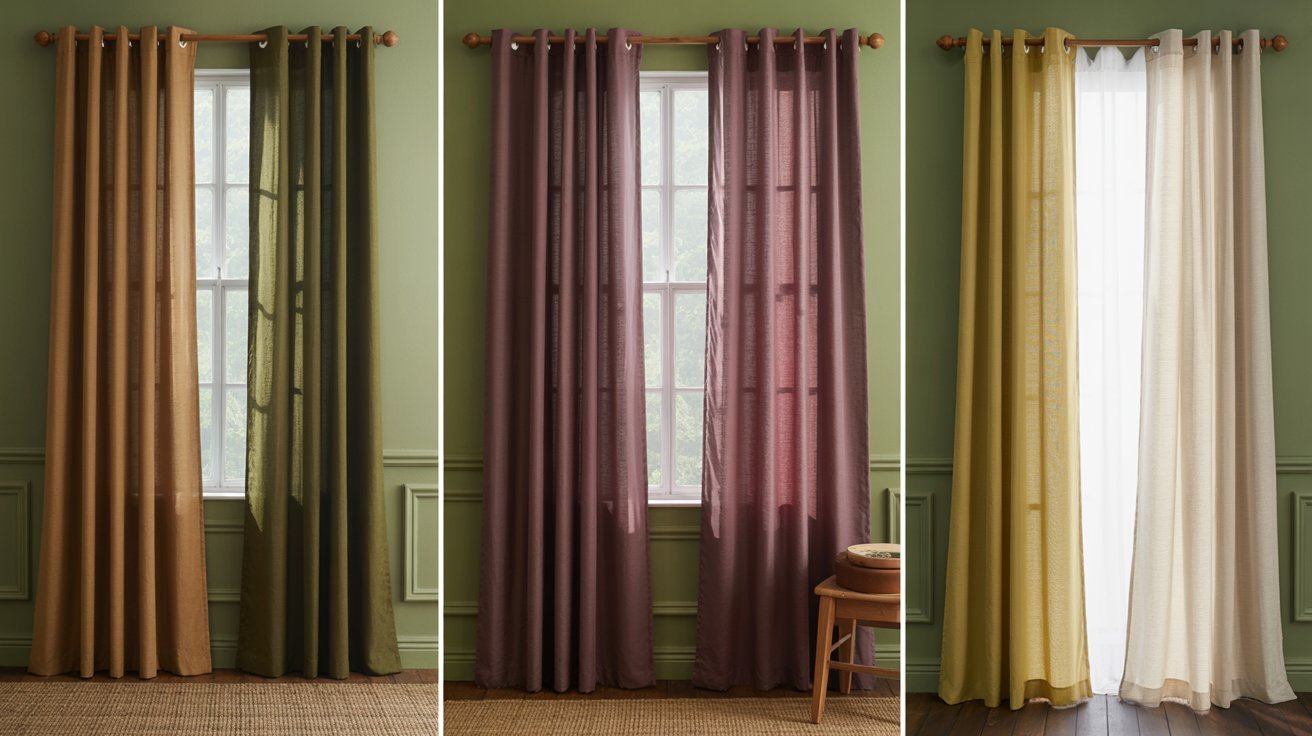
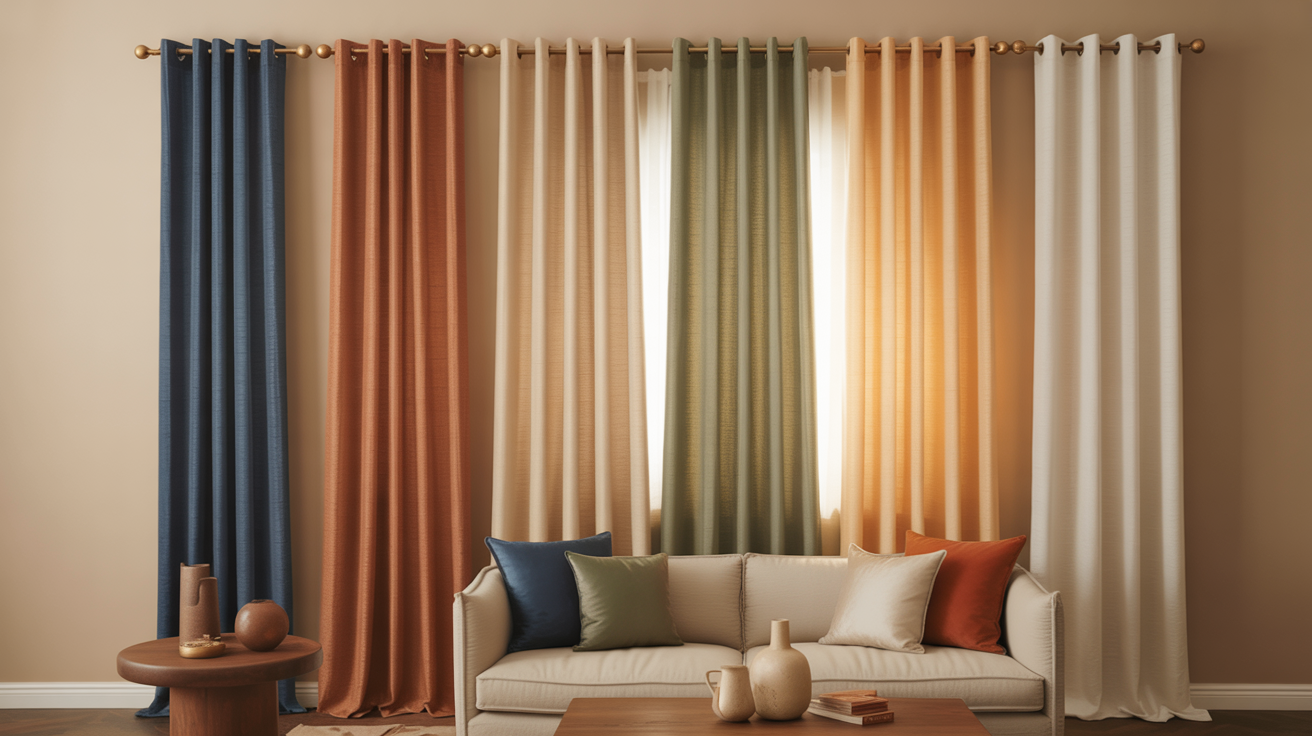
Top Curtain Color Ideas for Beige Walls
Beige walls are versatile. But choosing the right curtain color? That makes all the difference. I’ll walk you through the best options that actually work, no guesswork needed.
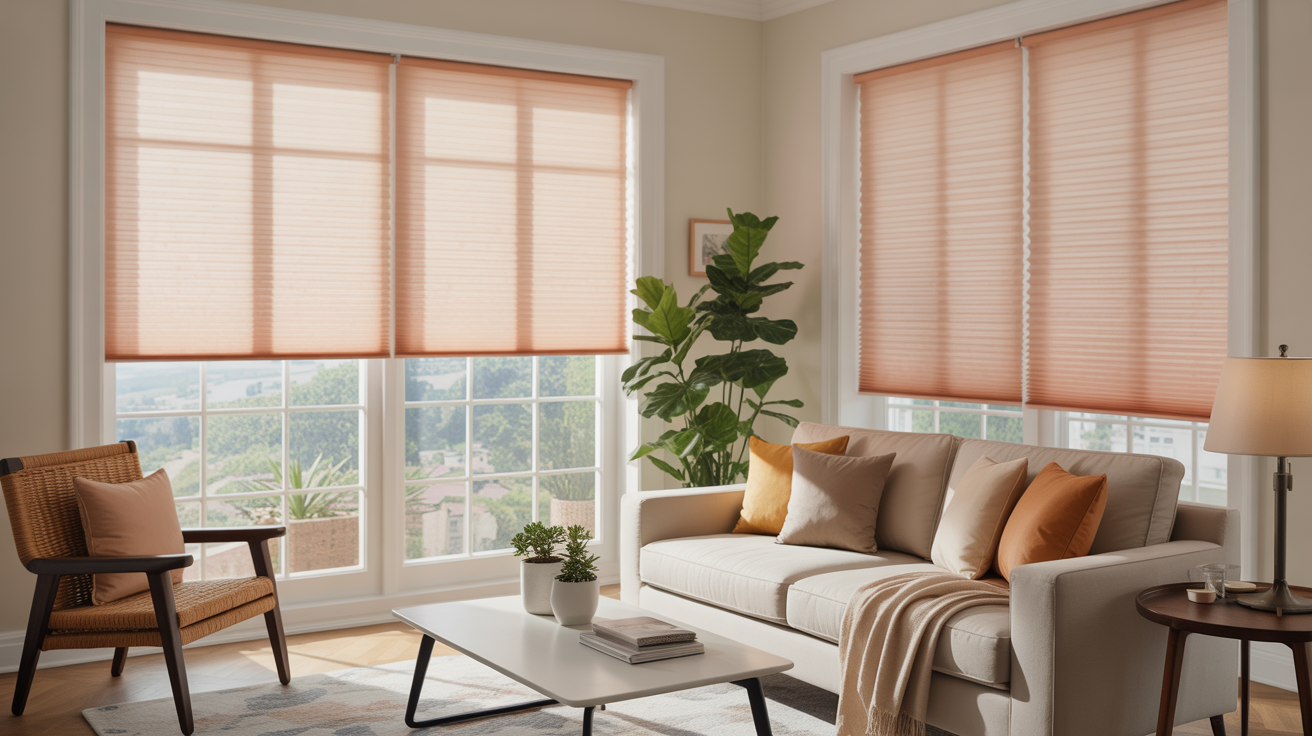
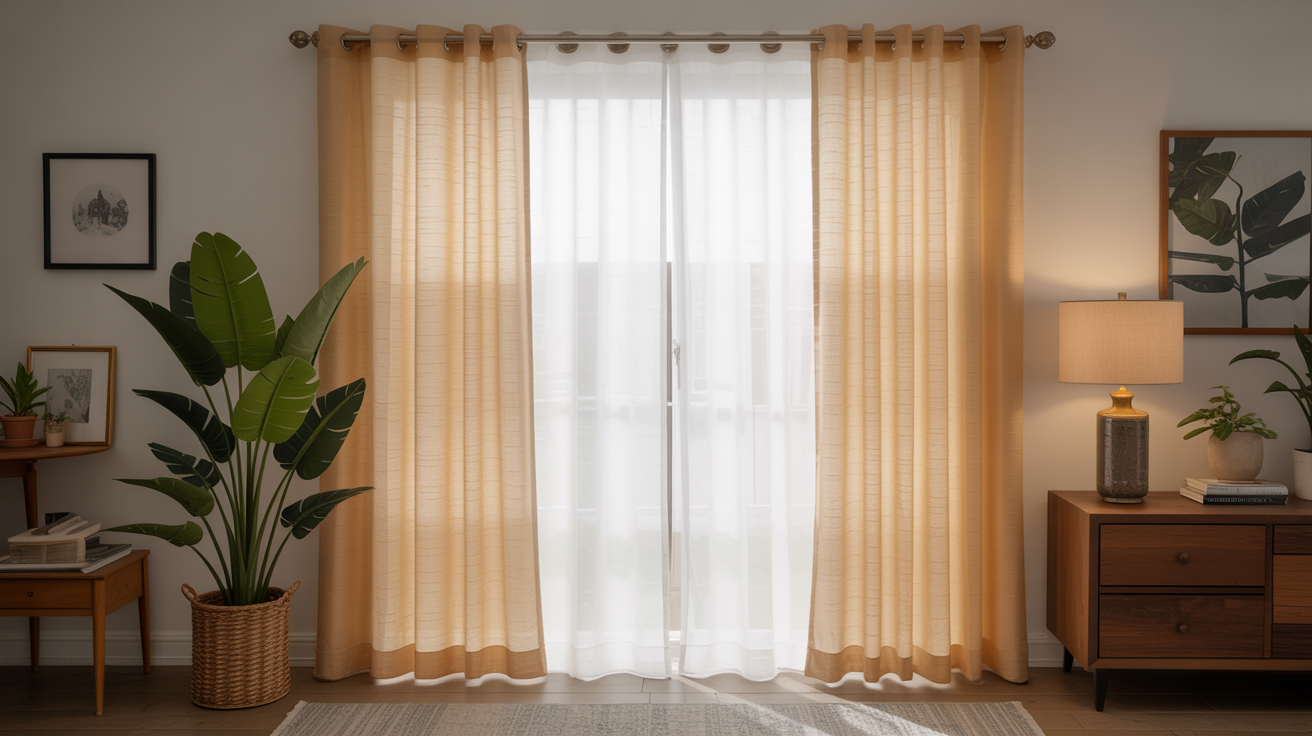
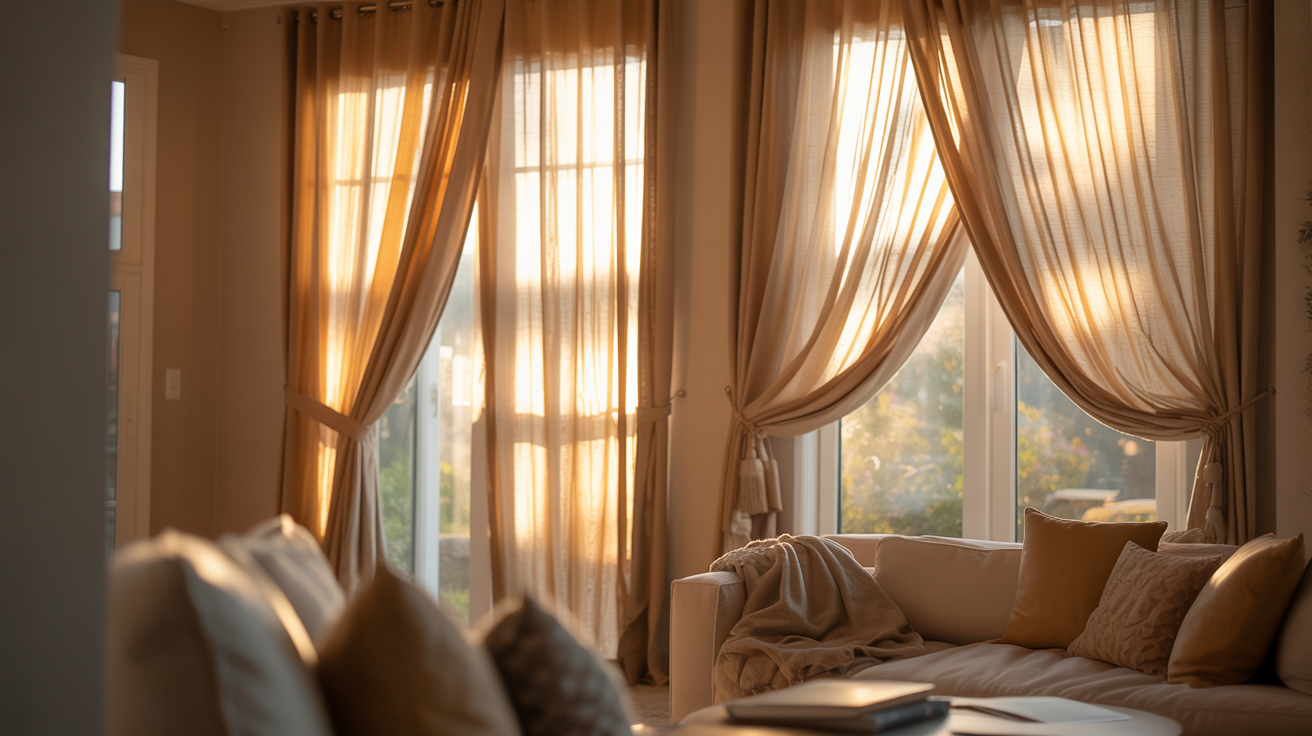
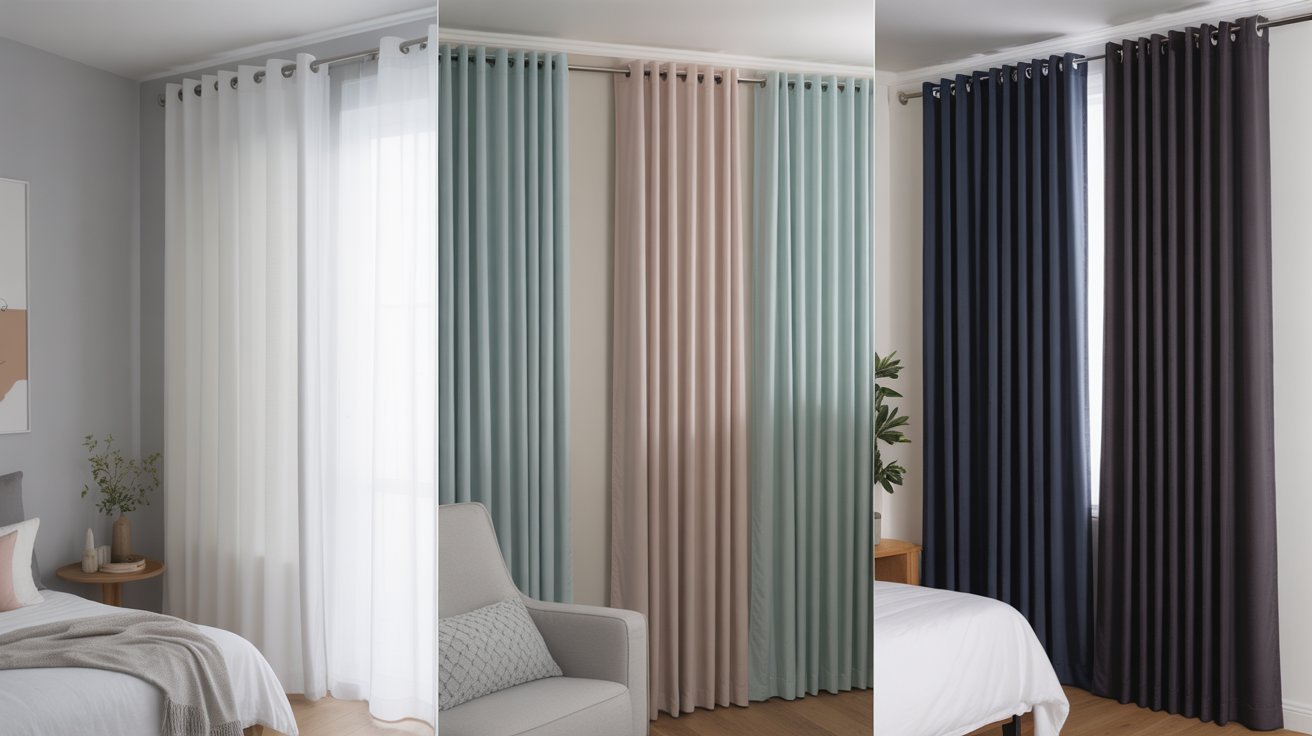
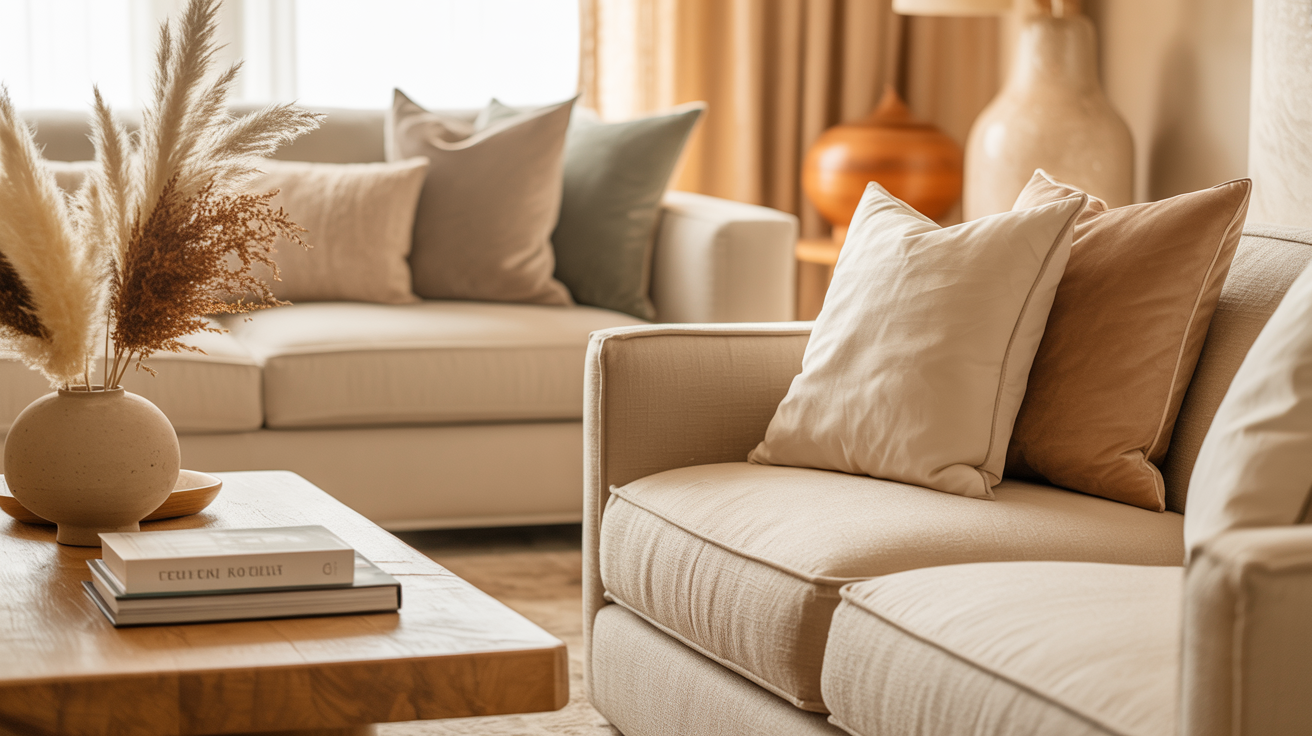
1. Cream or Off-White: Timeless and Airy
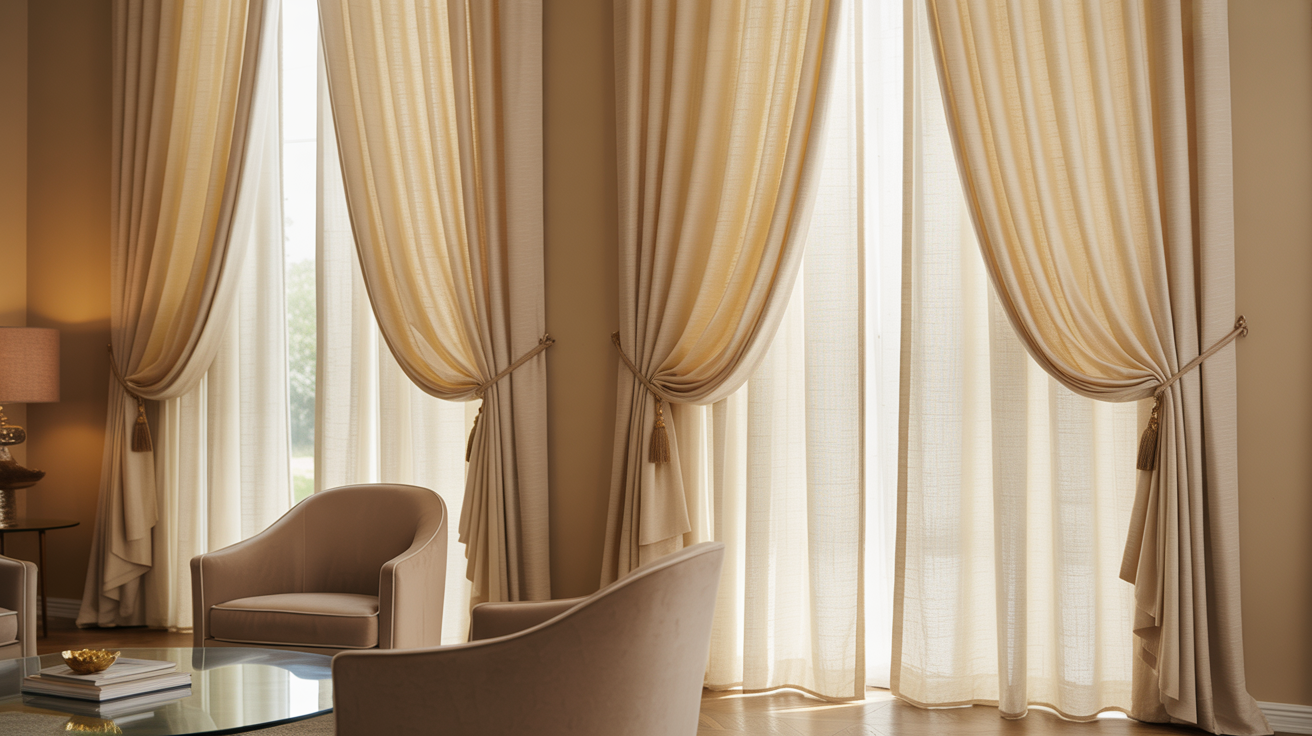
This is your safe bet. Cream curtains blend seamlessly with beige walls and keep things light. You won’t feel boxed in.
Here’s why this works:
- Ideal for a soft, serene look that enhances natural light
- Works beautifully in smaller rooms or minimalist spaces
- Complements all furniture tones without overpowering
Light tones open up a room. They don’t compete. They just flow.
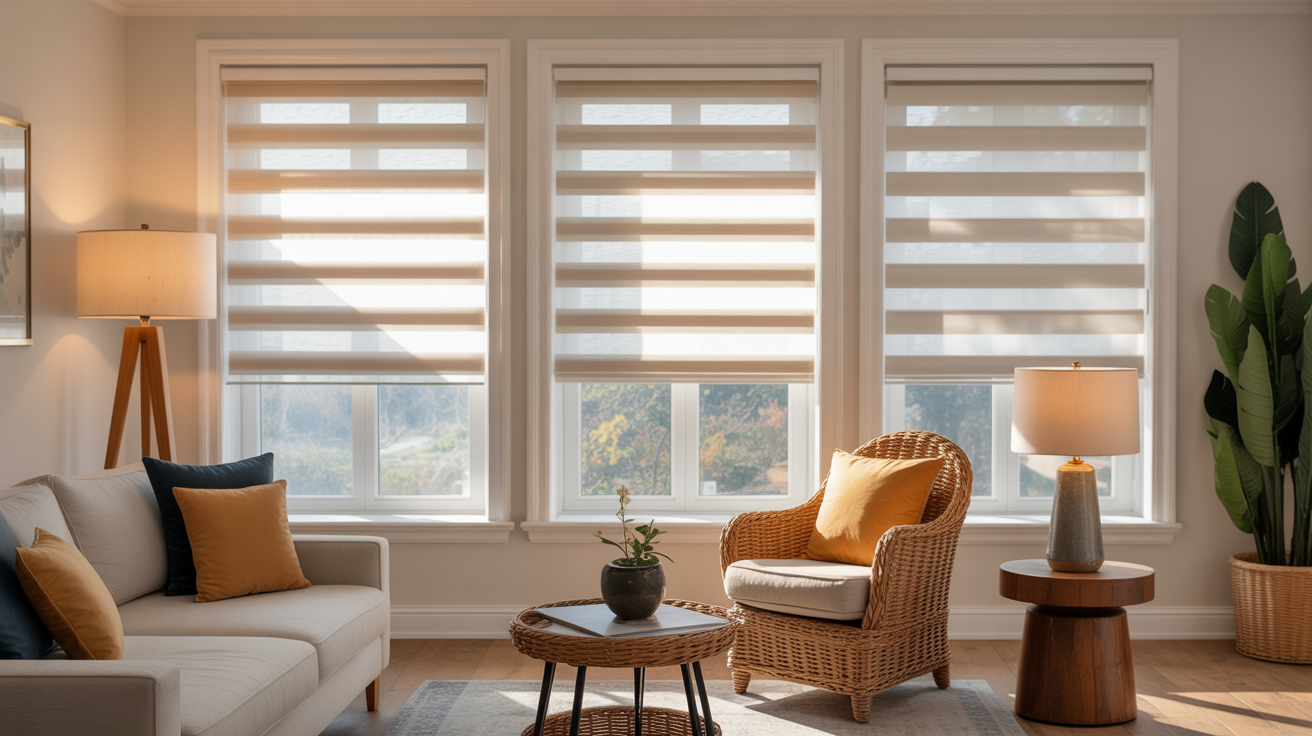
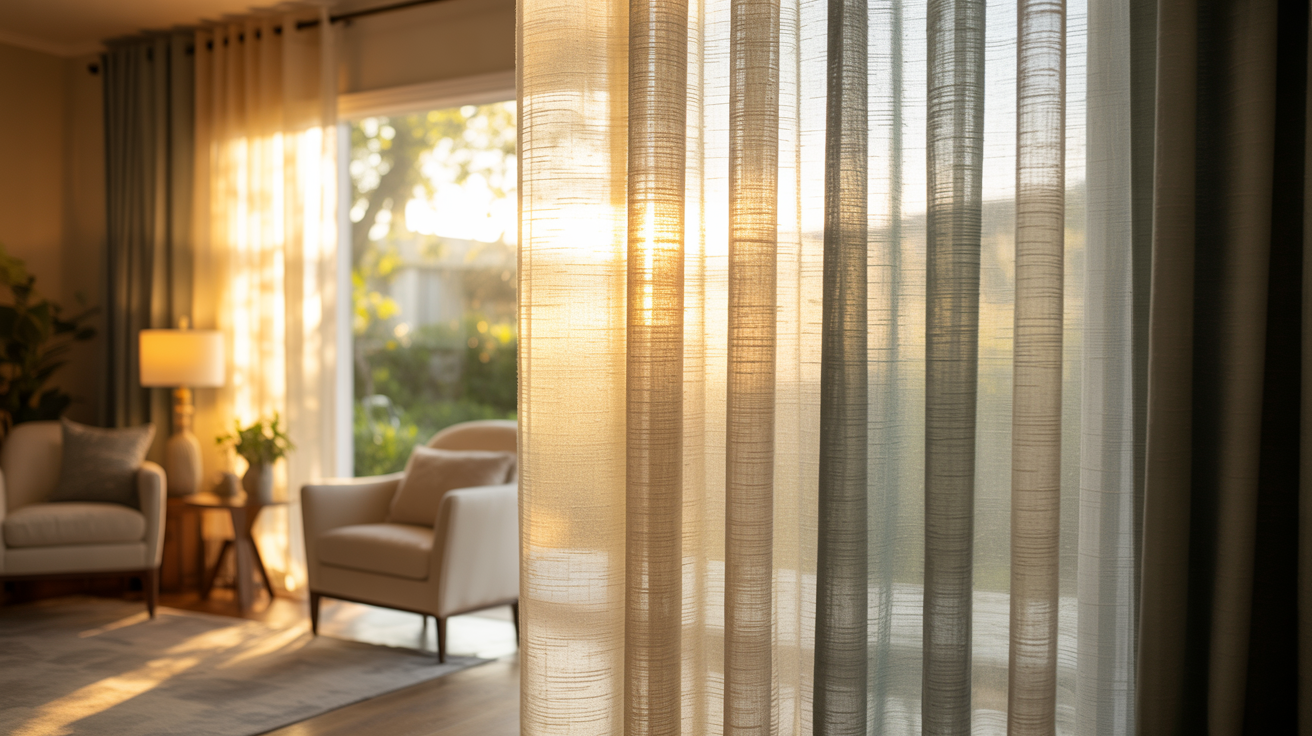
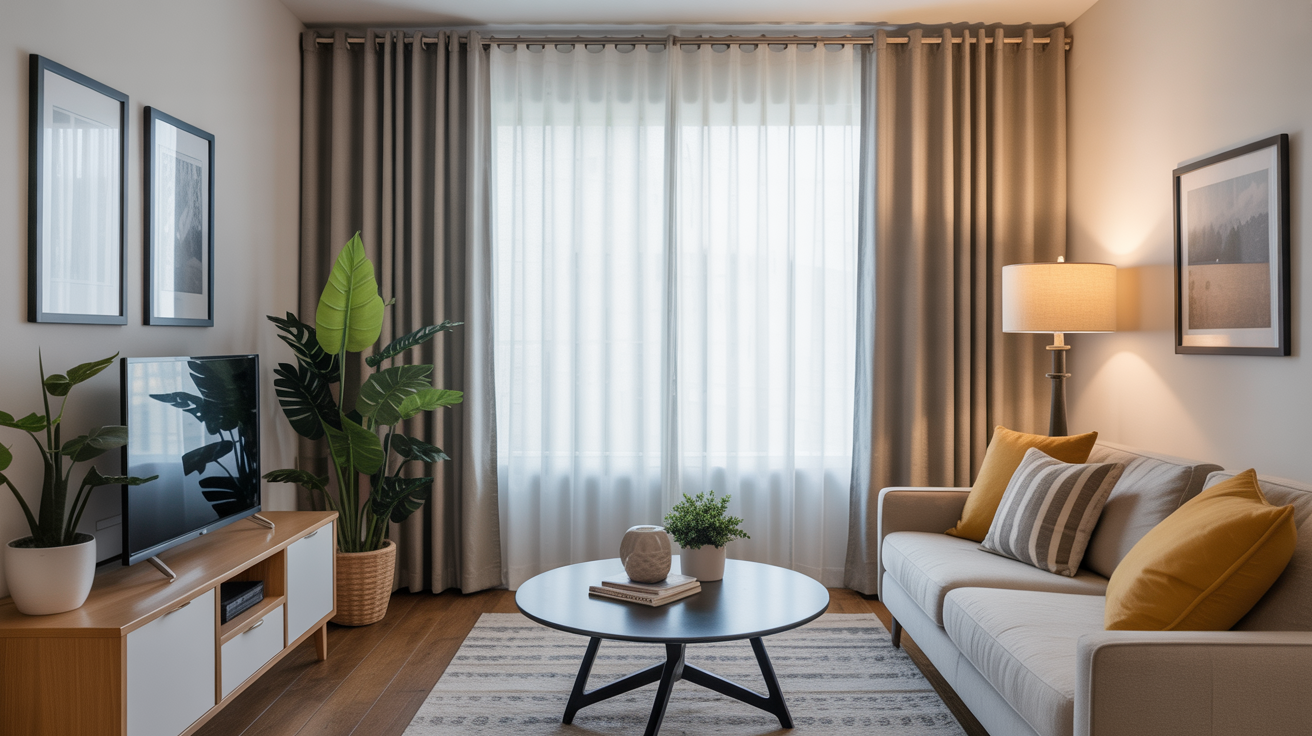
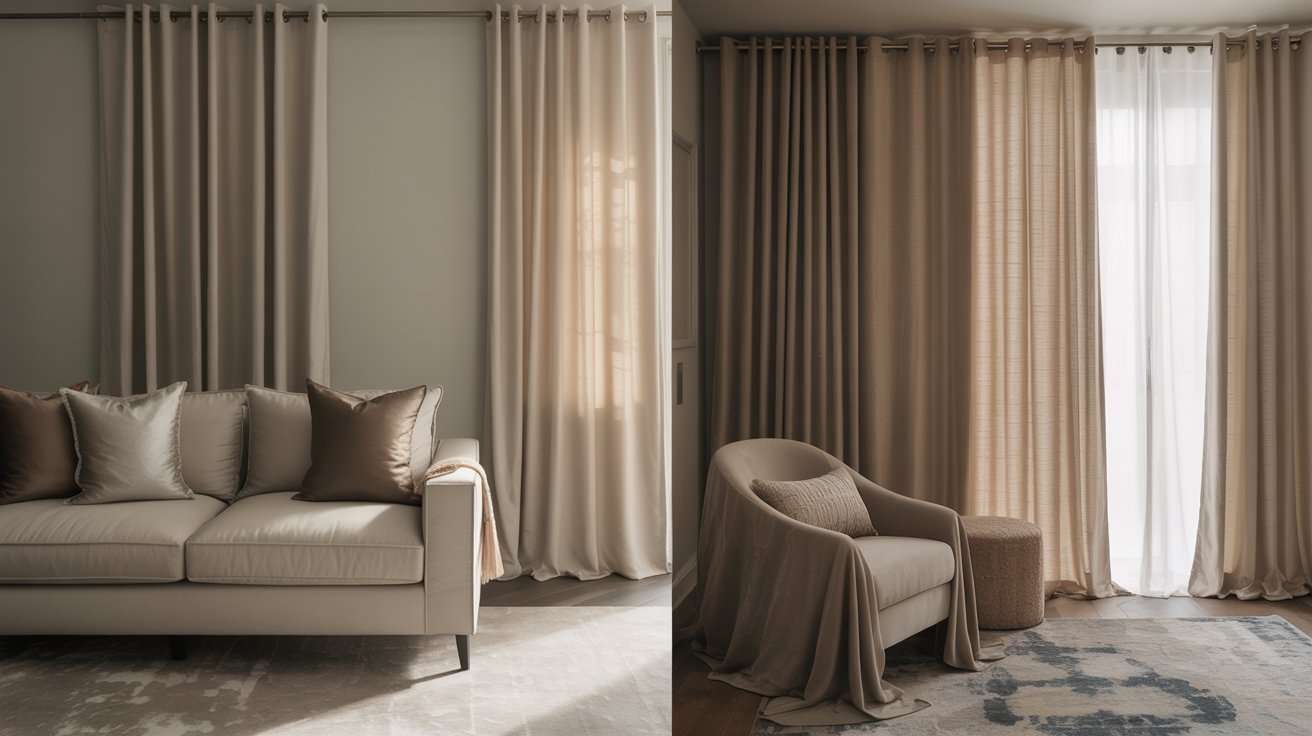
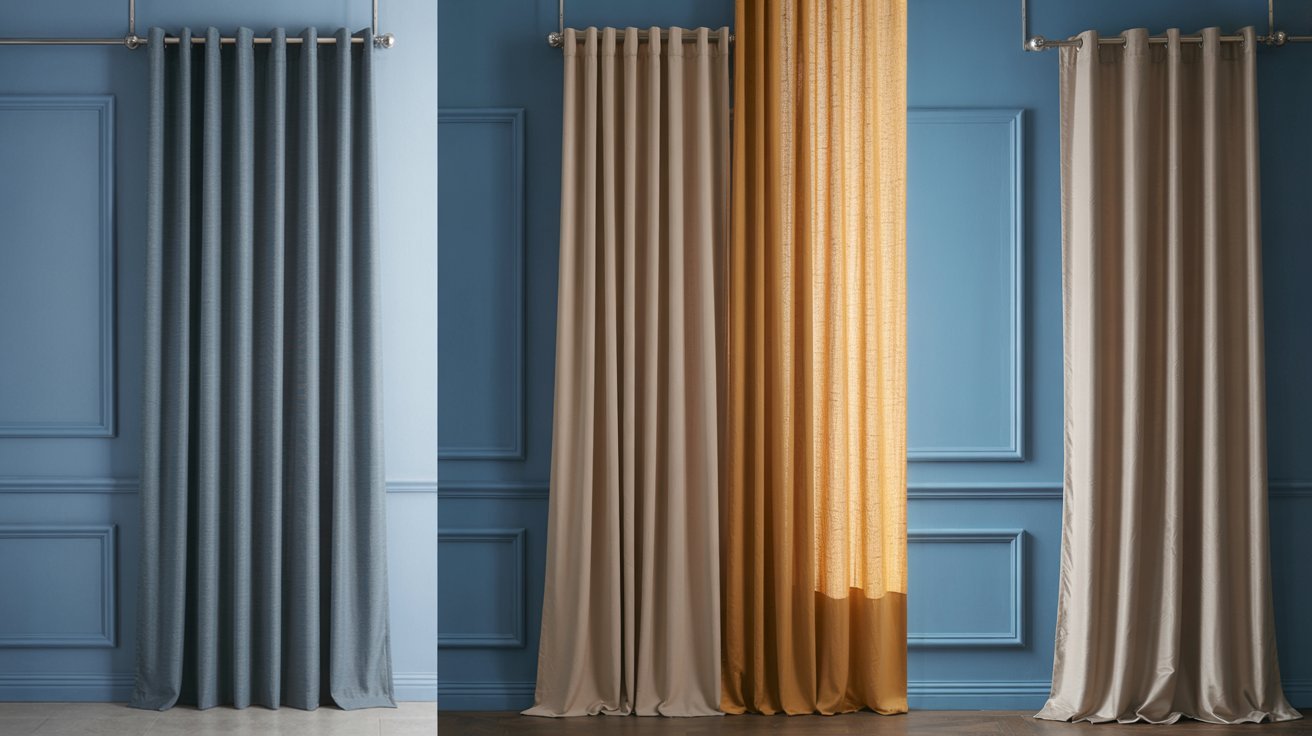
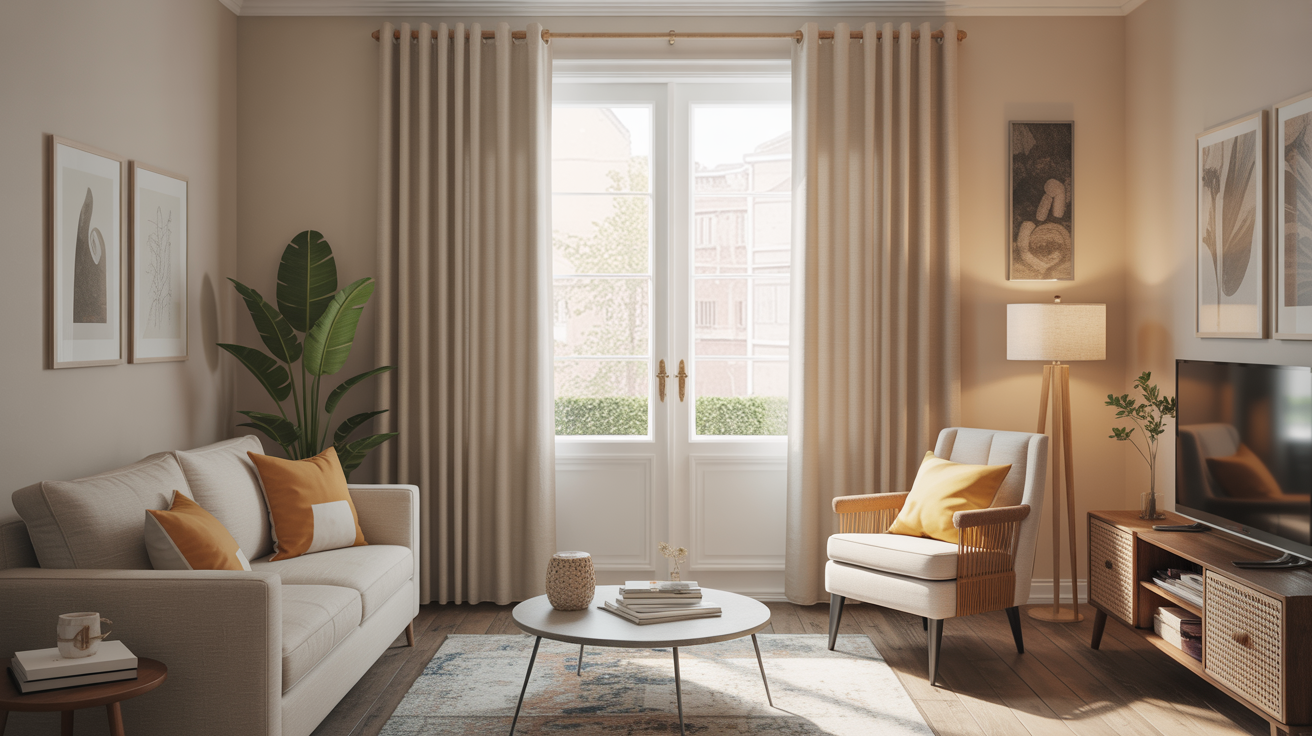
2. Taupe or Light Gray: Neutral with Depth
Want something subtle but not boring? Taupe is your answer. It adds layers without shouting for attention.
- Adds subtle sophistication while keeping the palette balanced
- Great for modern or transitional decor
- Works especially well with dark brown or wooden furniture
Gray-toned curtains feel current. They’re cooler than beige but still grounded. Perfect if you want a grown-up, polished look.
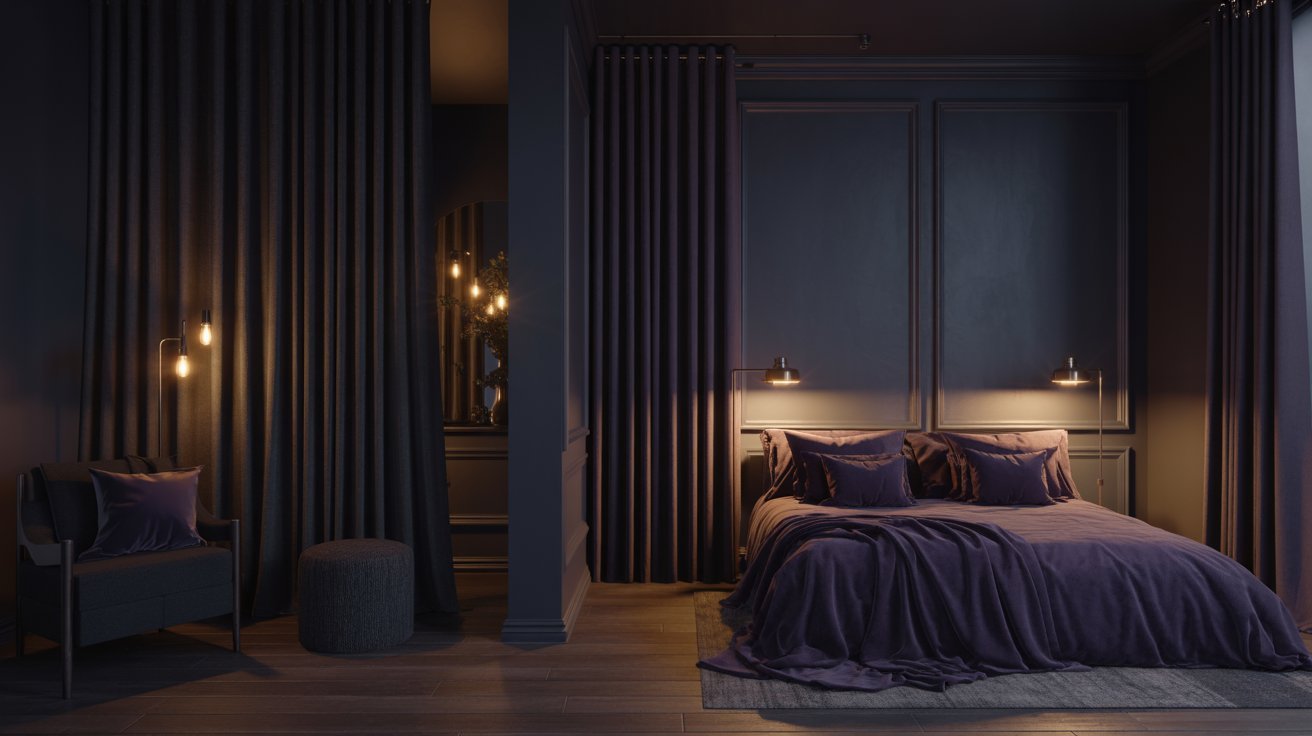
3. Navy Blue: refined Contrast
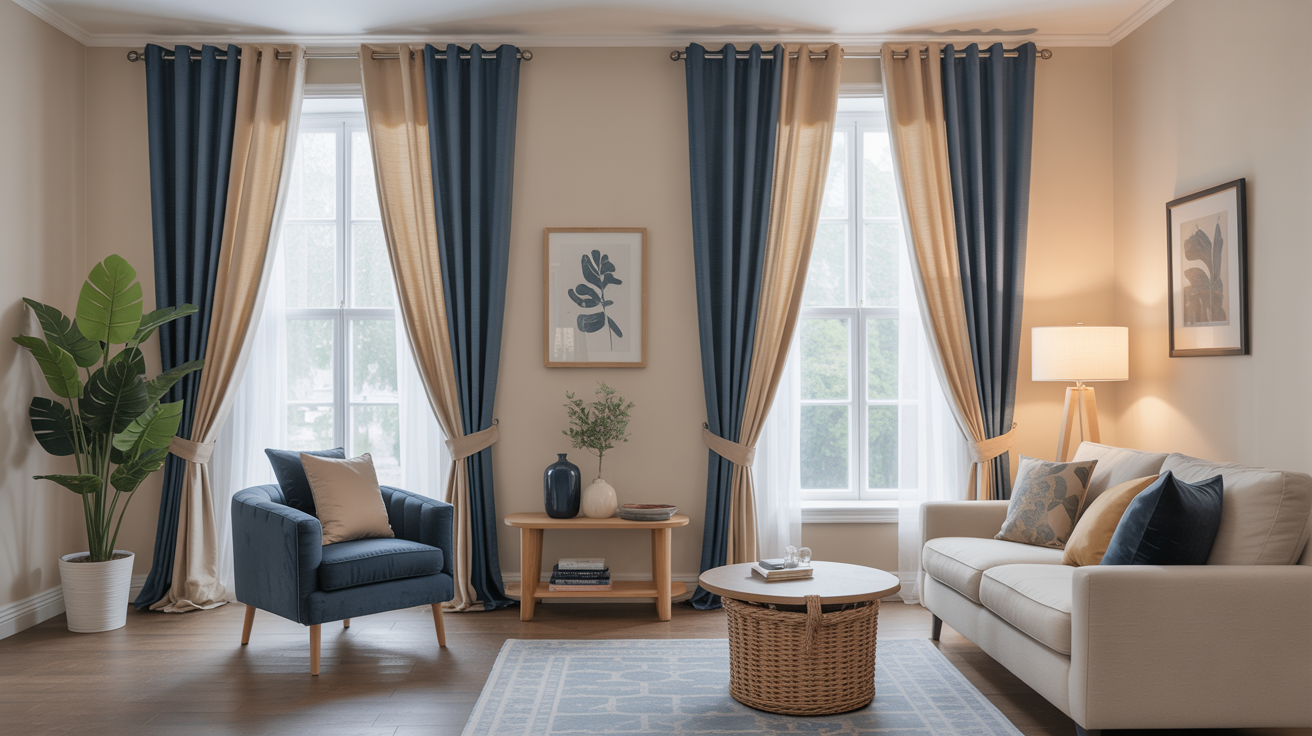
Here’s where you get bold. Navy against beige? Chef’s kiss. It creates structure and visual interest without feeling loud.
- Offers a bold yet refined contrast with beige
- Adds visual structure to living or dining areas
- Pairs nicely with metallic or wooden accents
I love this combo for spaces that need definition. Navy anchors the room. It draws the eye and adds serious style points.
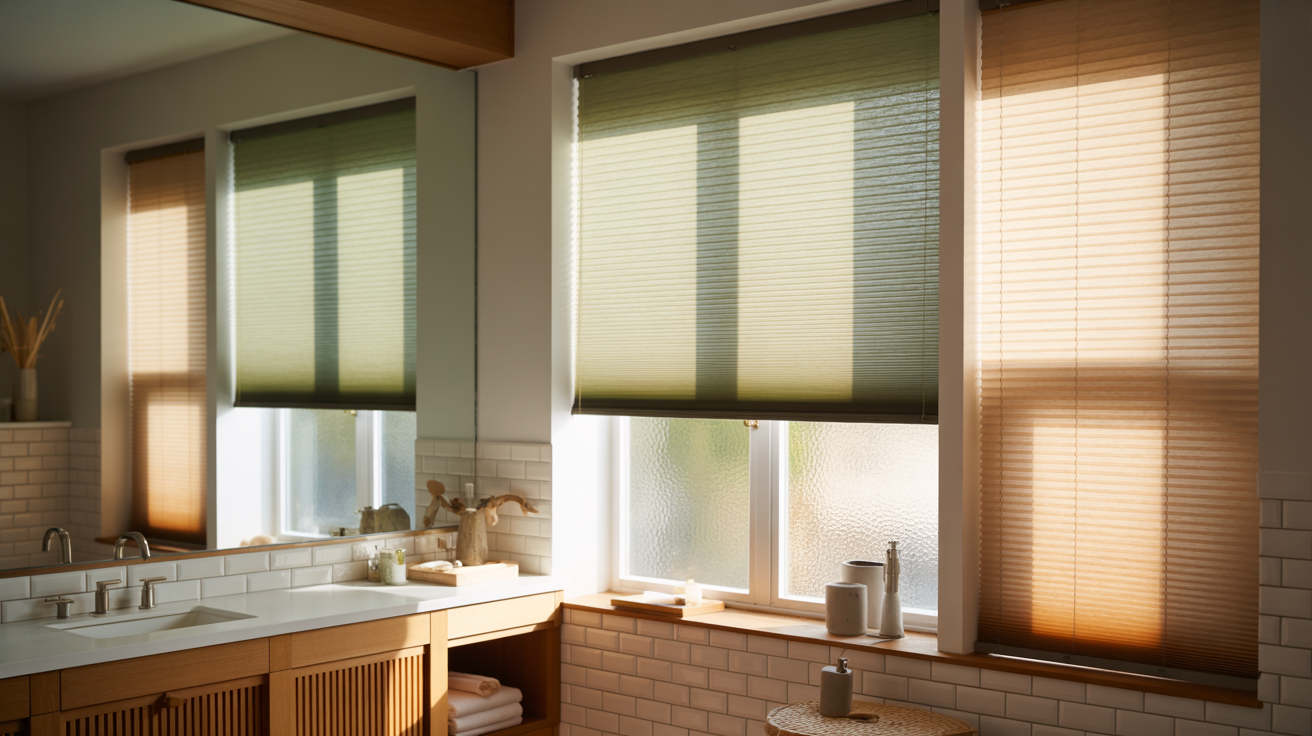
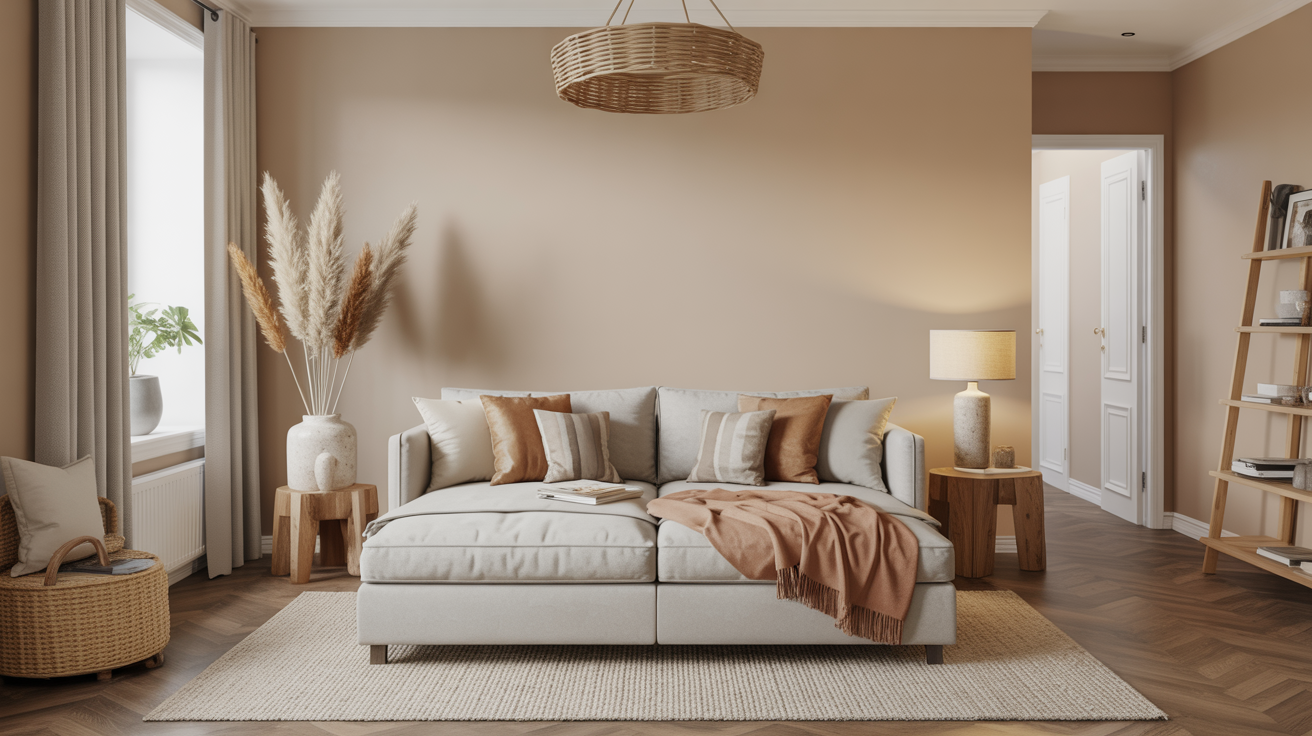
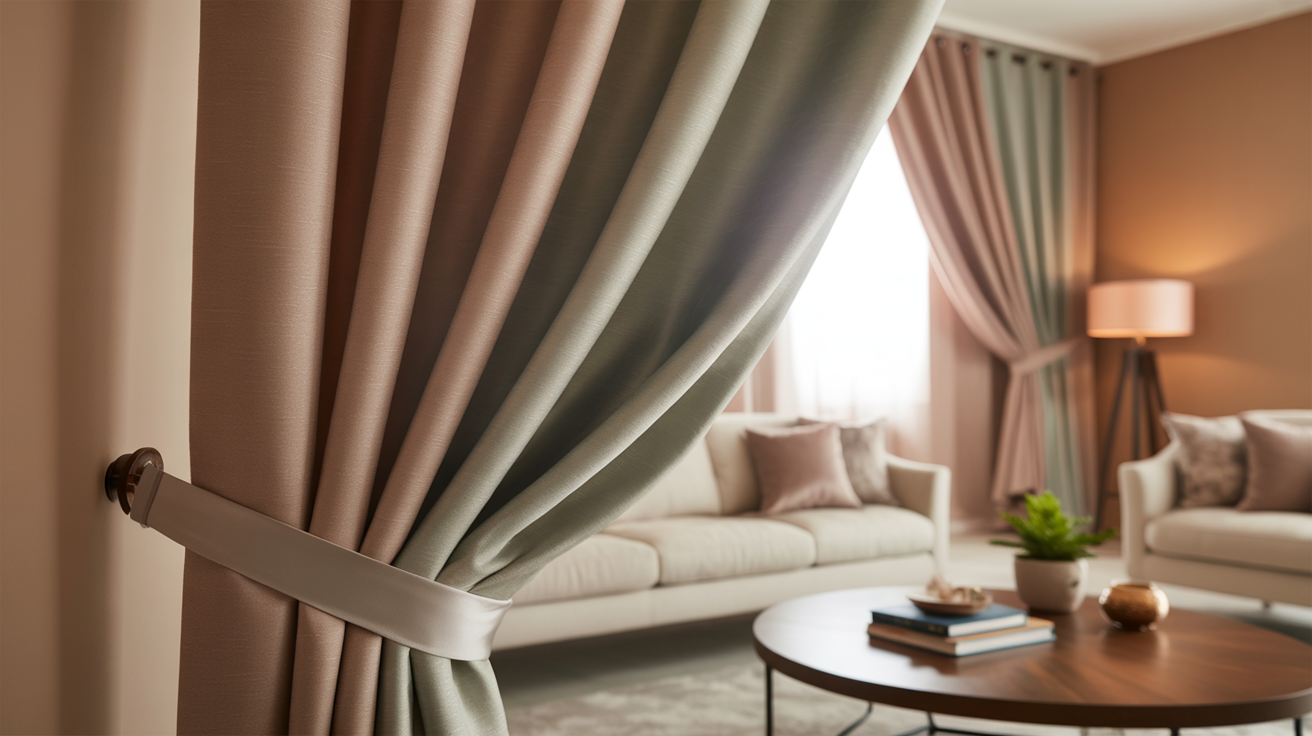
4. Olive Green: Earthy and Relaxing
This color brings the outside in. Olive green feels calm and natural, like you’re wrapped in a cozy forest.
- Brings a natural, organic tone that complements beige’s warmth
- Enhances rooms with plants or wood textures
- Suggests calm and coziness, ideal for living rooms or bedrooms
Green tones work beautifully with beige. They’re soft but alive. You’ll feel more relaxed just looking at them.
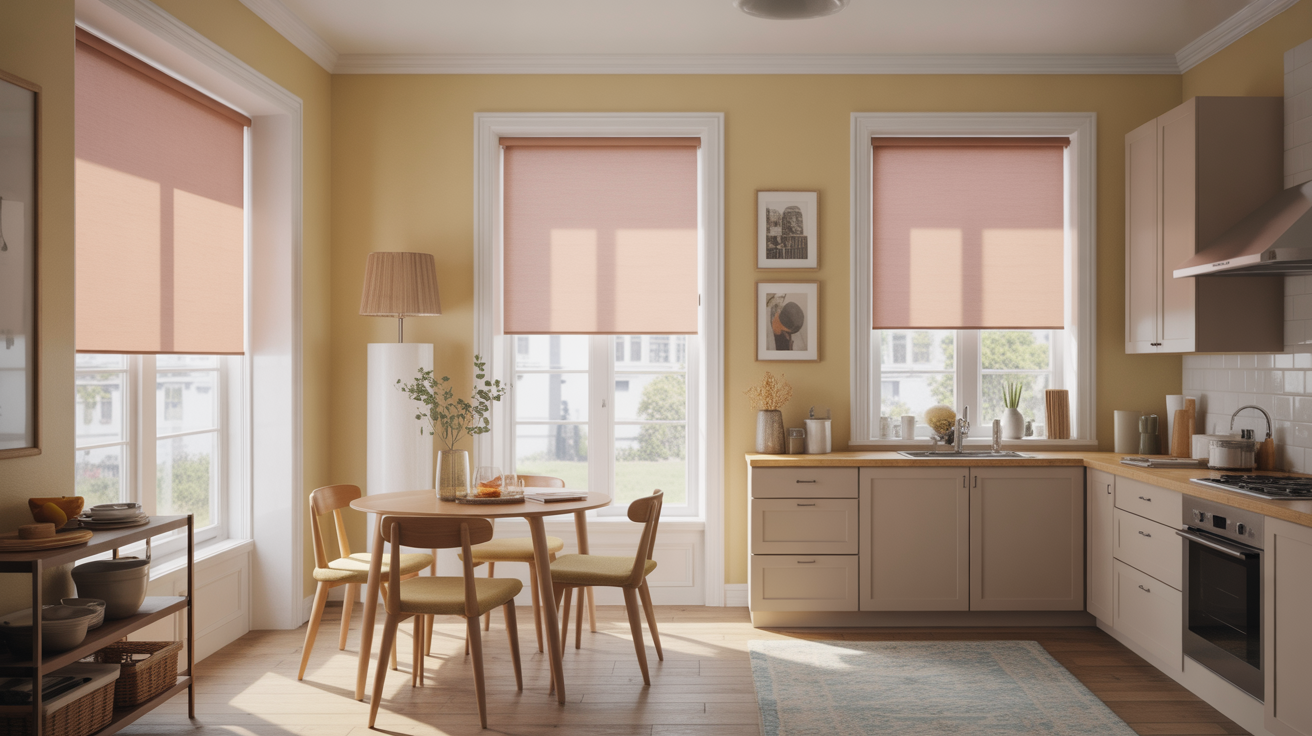
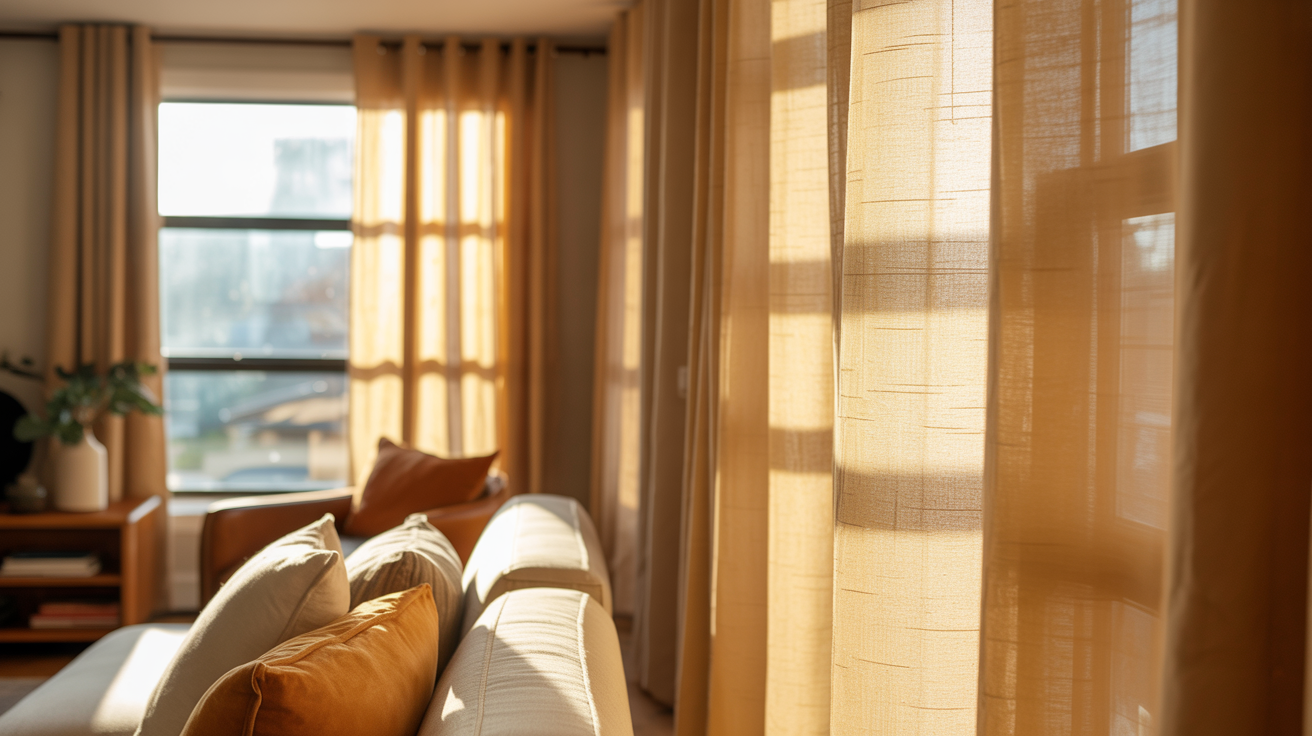
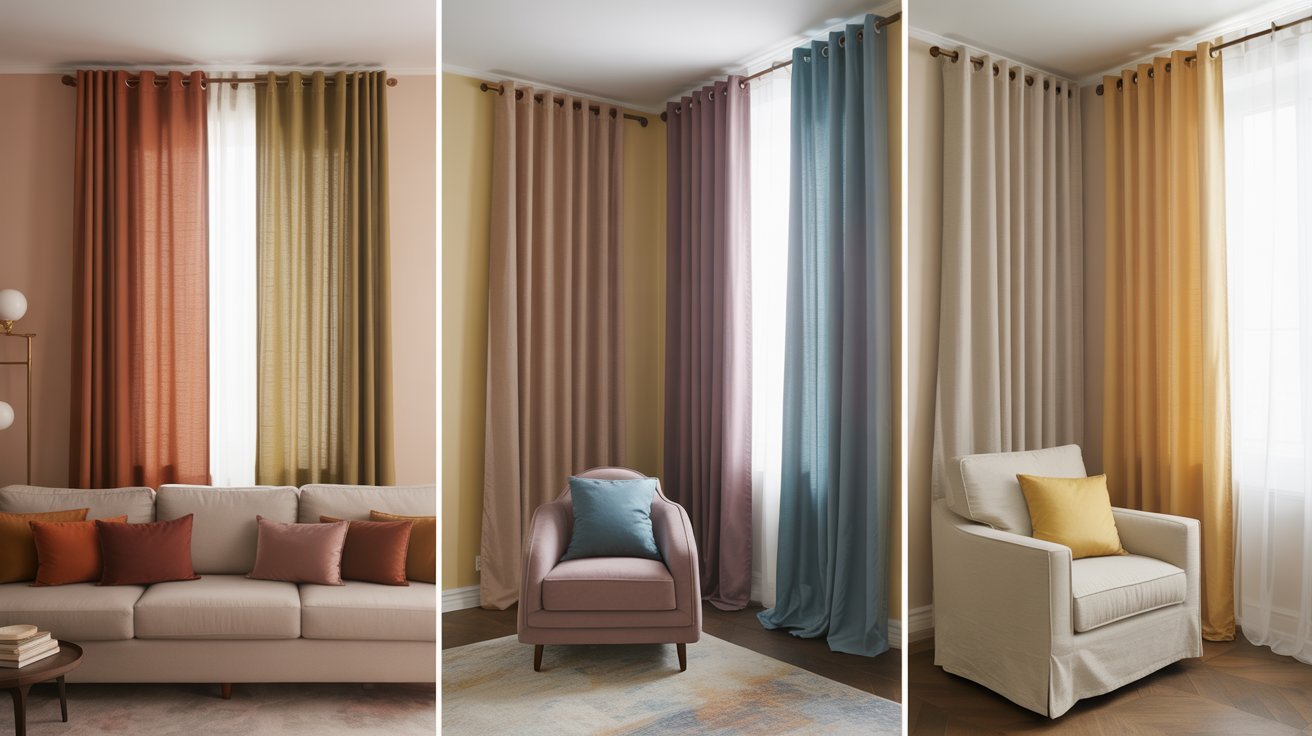
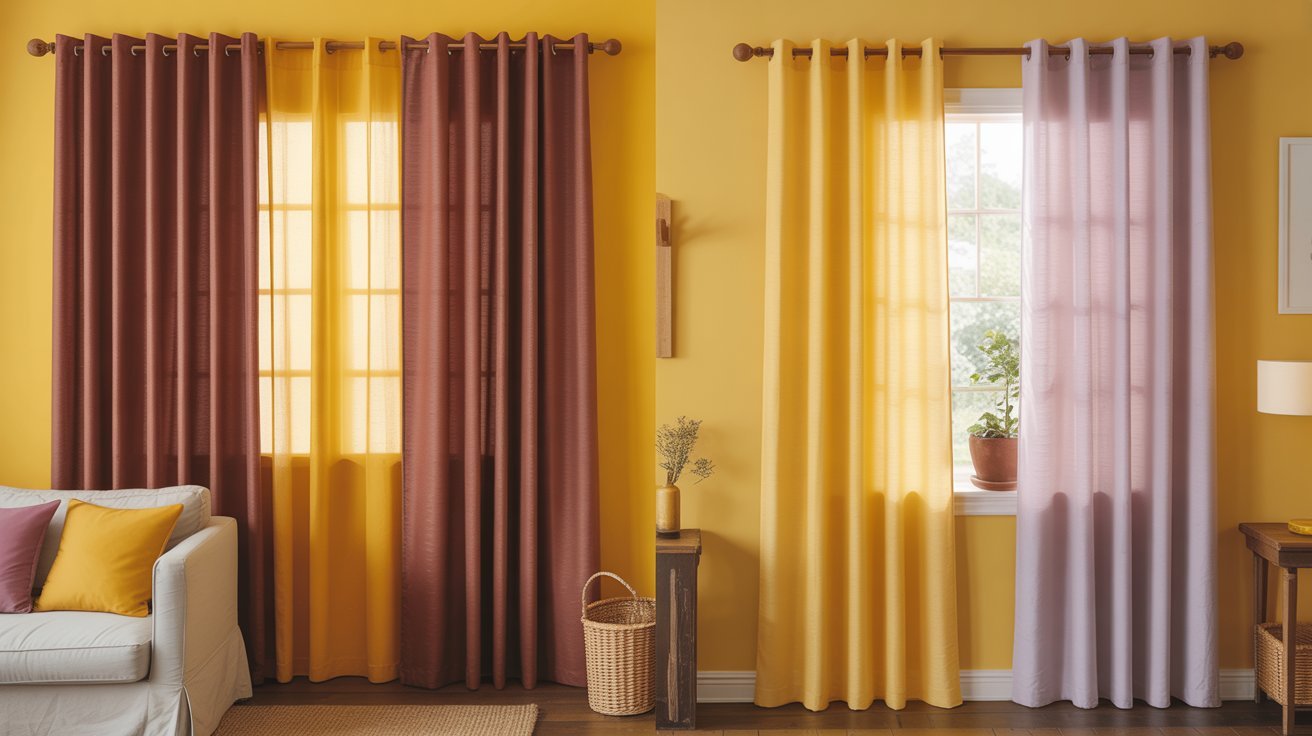
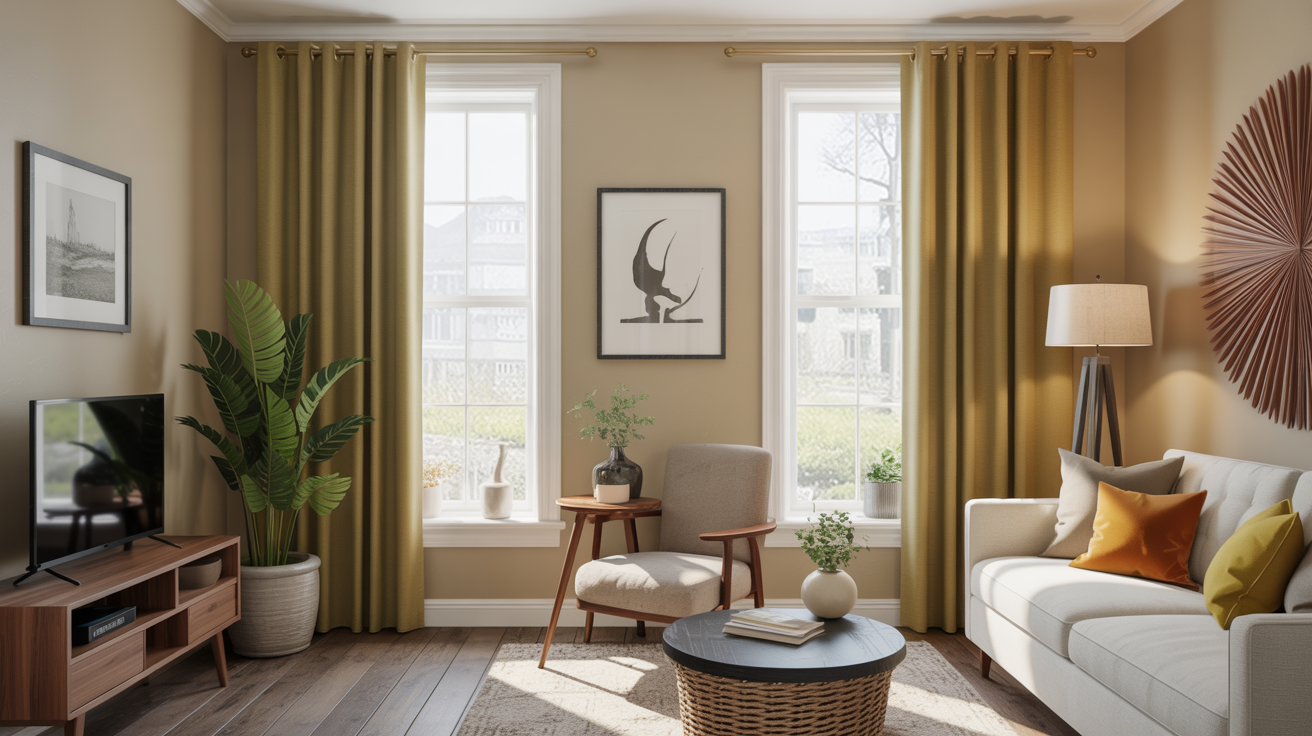
5. Mustard Yellow: Warm and Inviting
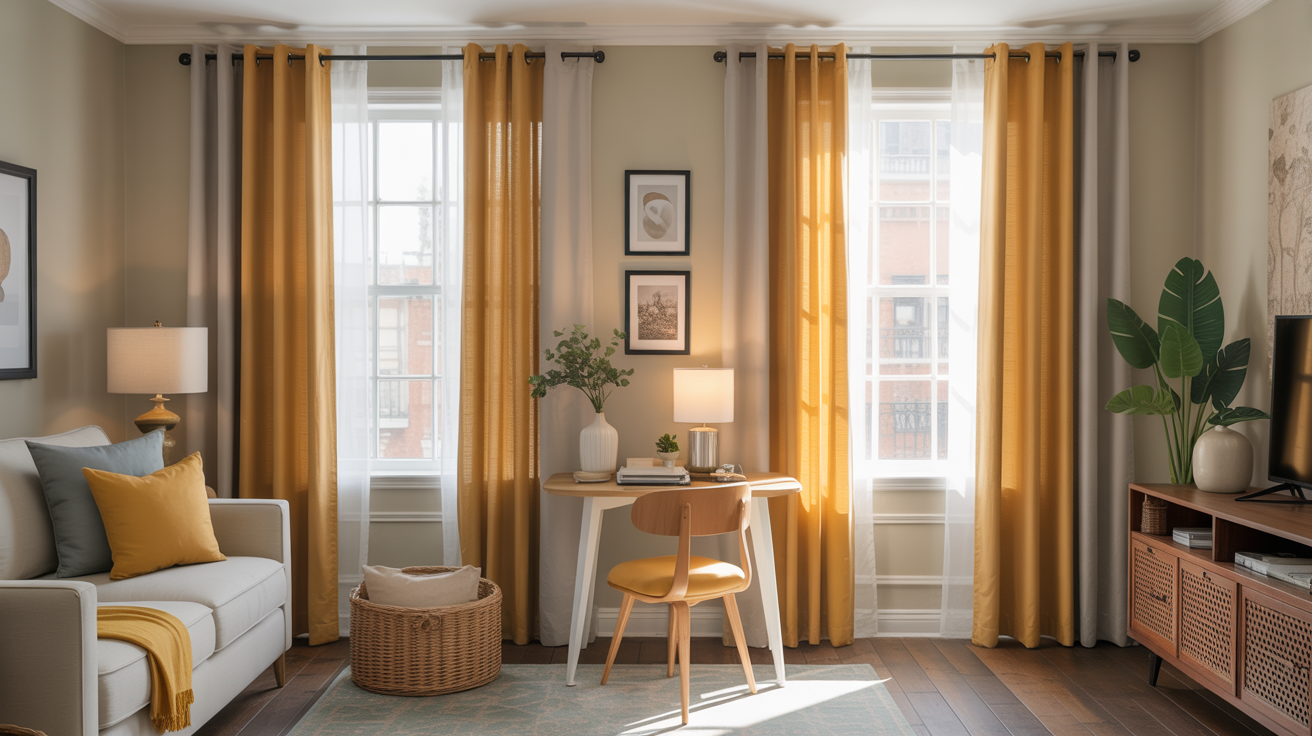
Need a little sunshine? Mustard yellow does the trick. It’s cheerful without being childish.
- Adds a burst of cheerful color without overwhelming
- Perfect for bohemian or rustic interiors
- Creates a sunny, welcoming vibe in naturally lit spaces
This shade has personality. It warms up the space instantly. Great for rooms that get good natural light.
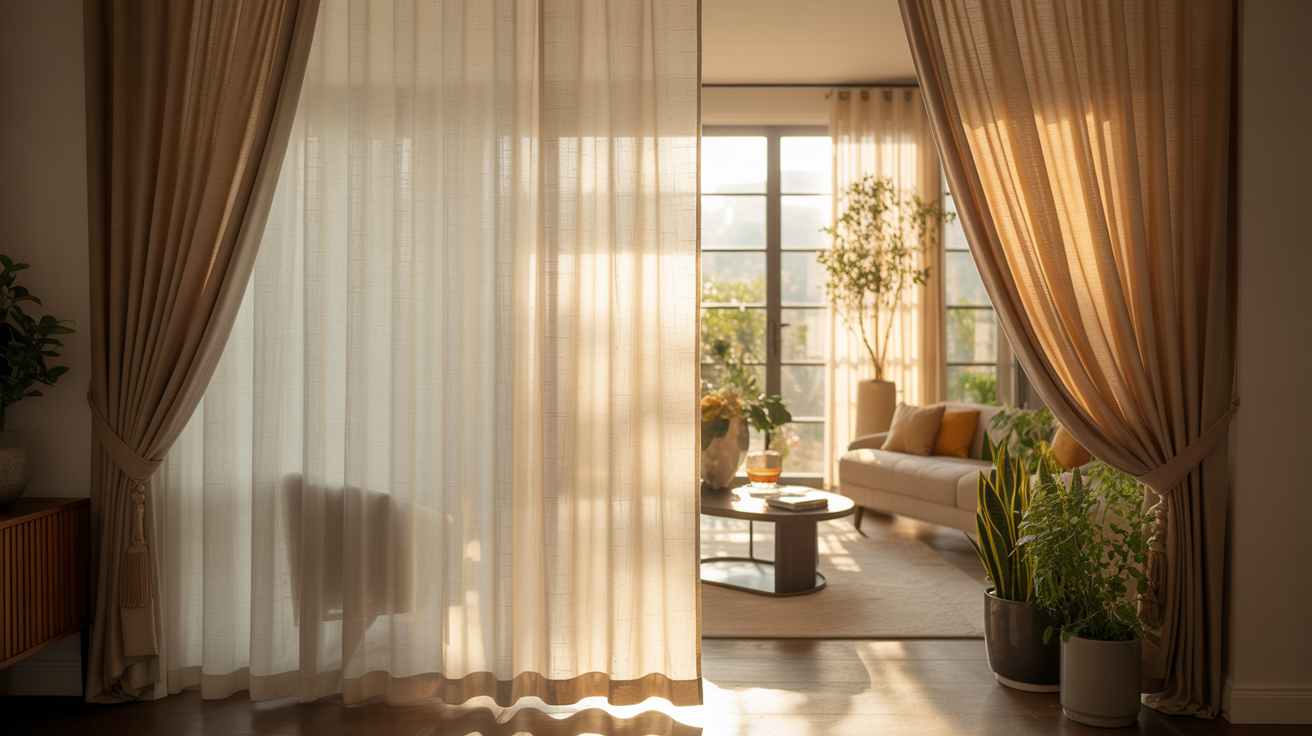
6. Gold or Bronze: Luxe and Sophisticated
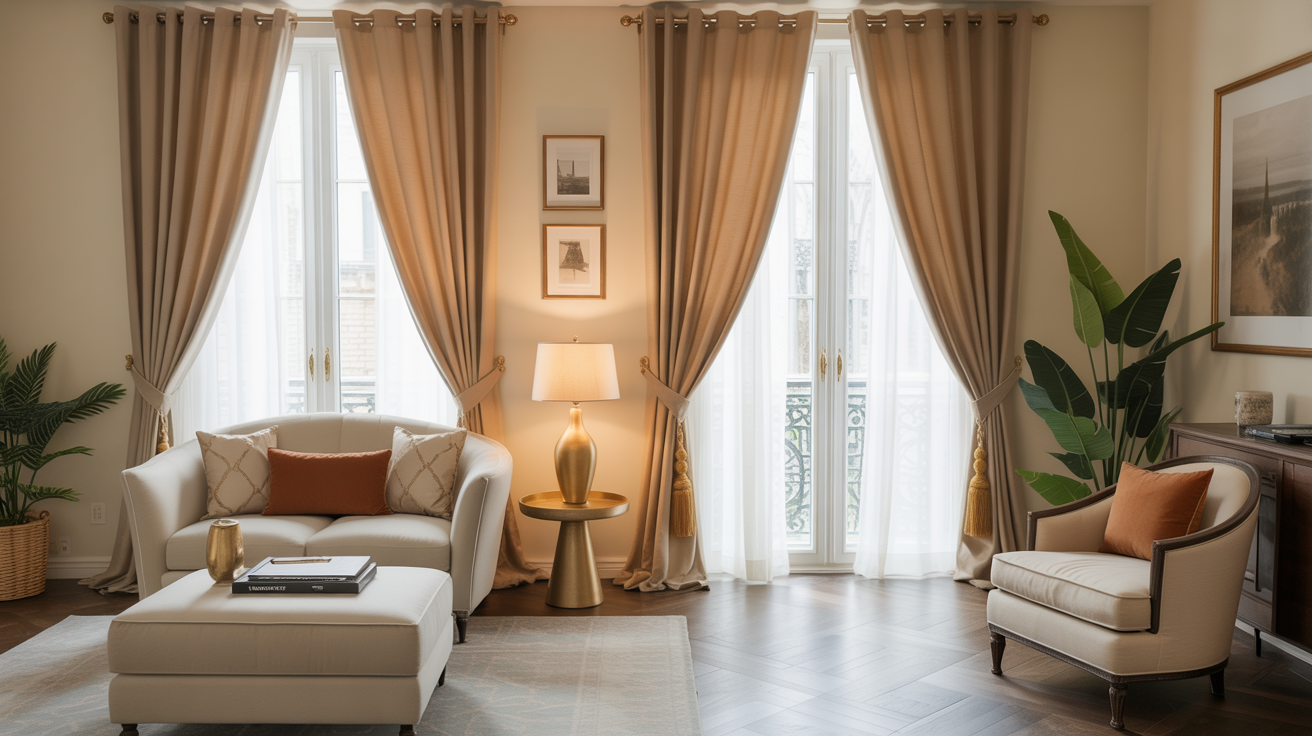
Want to feel fancy? Metallic curtains catch light beautifully. They add a touch of glamour without trying too hard.
- Introduces a subtle metallic shimmer for elegance
- Reflects light beautifully, adding dimension
- Best suited for formal settings or accent windows
Gold tones elevate everything. They make beige walls look intentional and expensive. Use them sparingly for maximum impact.
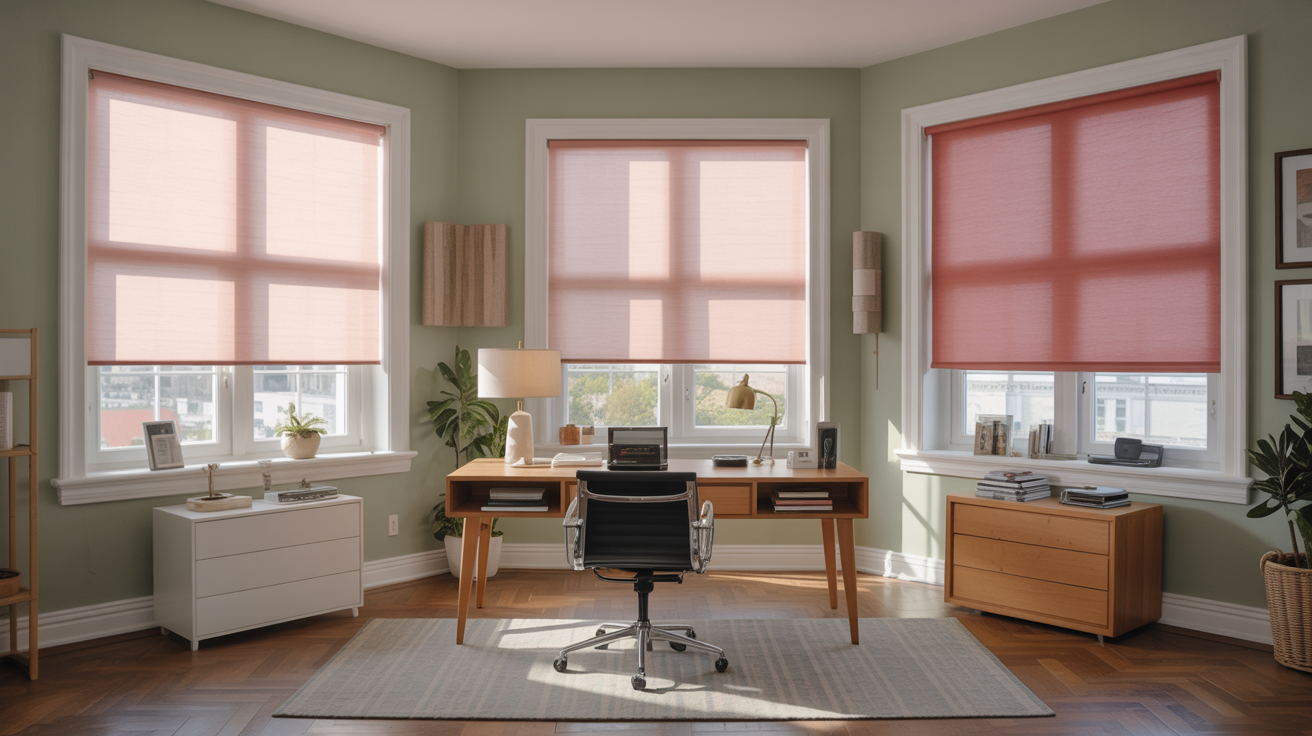
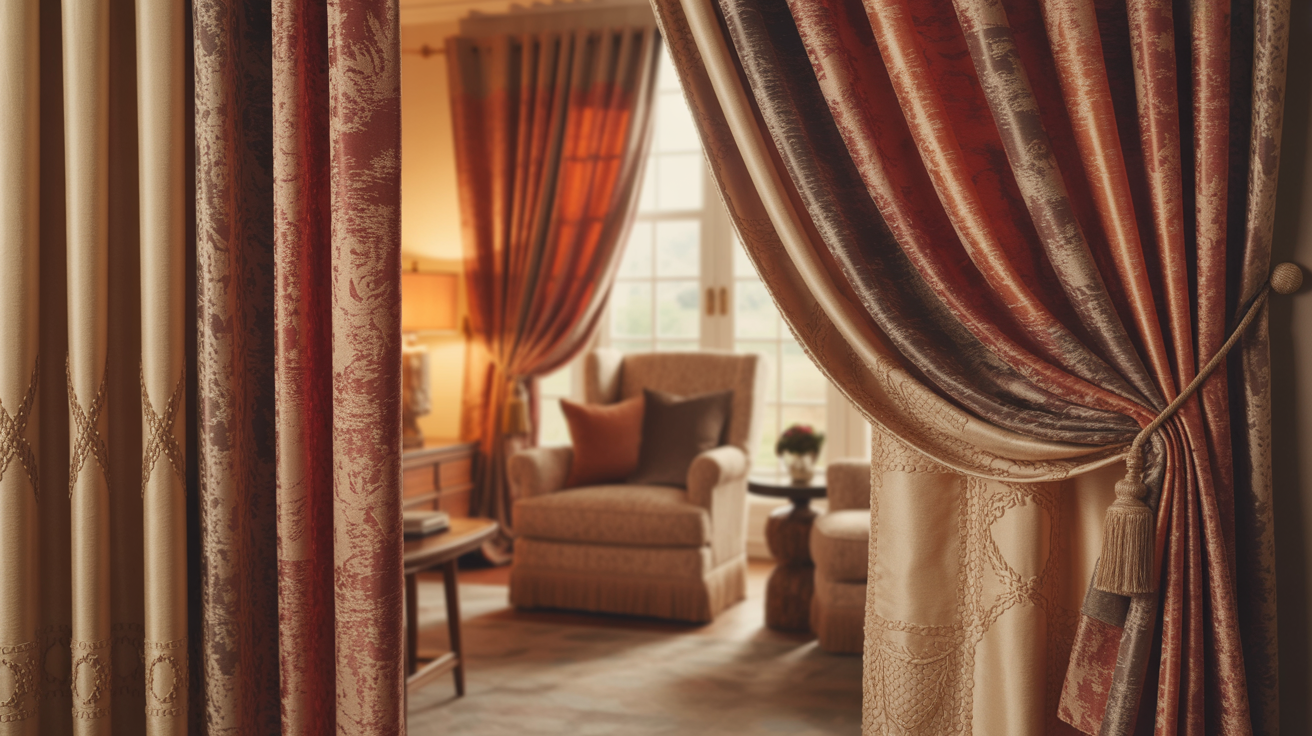
7. Burgundy or Deep Red: Bold and Dramatic
This is for the confident decorator. Burgundy brings richness and warmth that changes the entire room.
- Delivers warmth and intensity against beige walls
- Ideal for cozy dens, dining rooms, or vintage-inspired decor
- Balances beige’s neutrality with a touch of luxury
Deep reds create drama. They make beige feel refined instead of safe. Perfect for spaces where you want people to linger and feel wrapped in comfort.
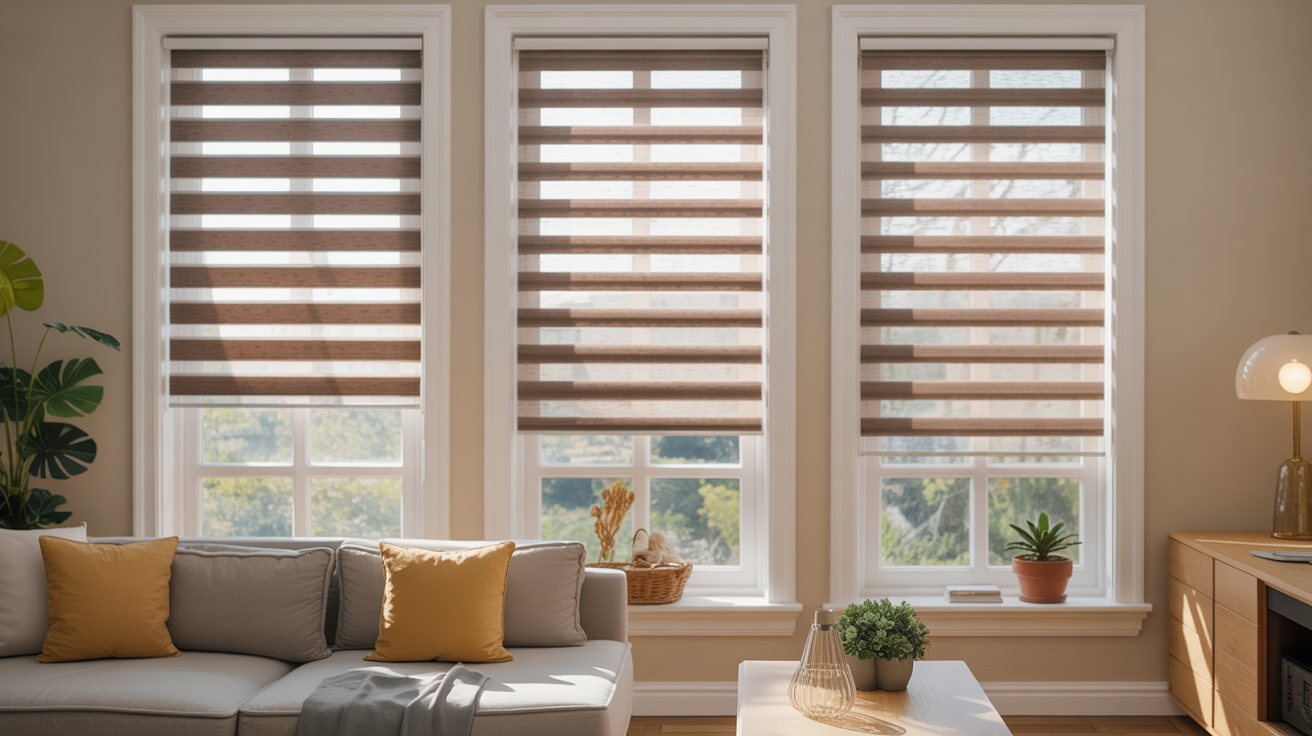
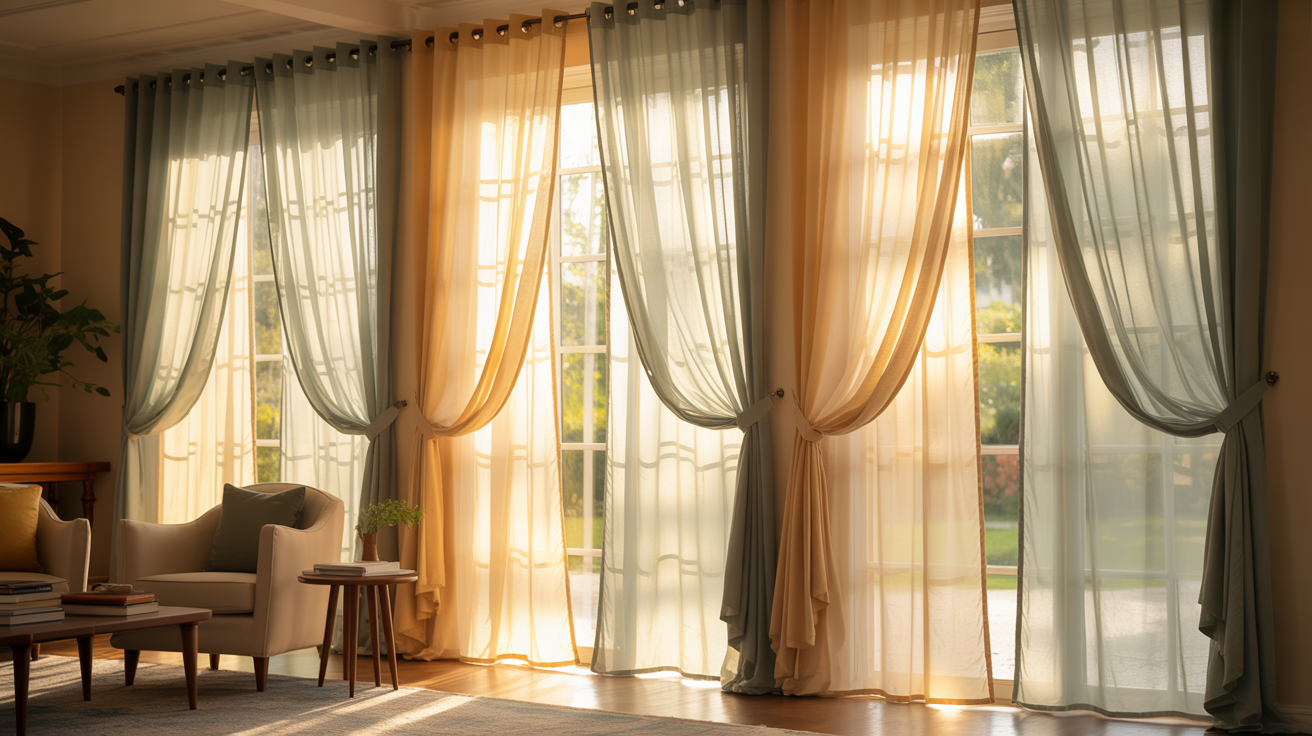
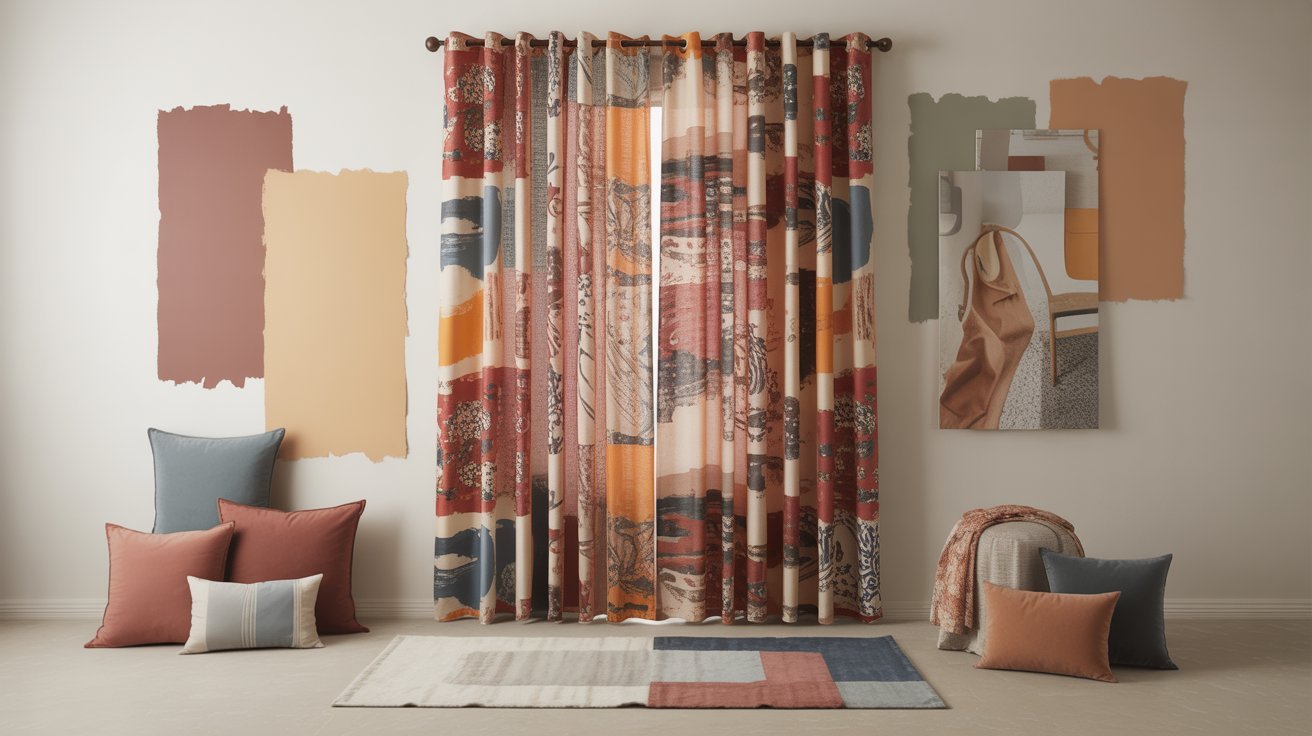
Playing with Patterns and Textures
I believe the right pattern or texture can change beige walls from boring to beautiful. You just need to know what works.
Patterned Curtains
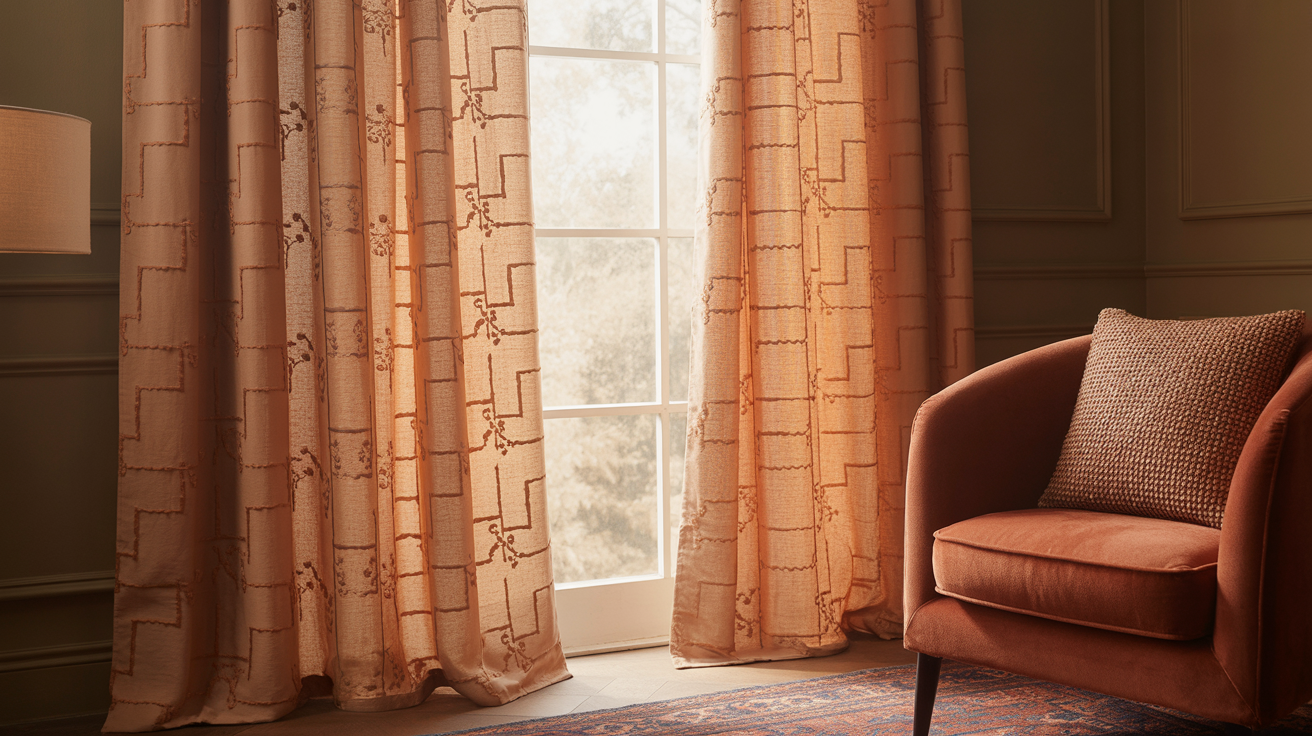
Patterns are your secret weapon. They connect everything in the room.
- Beige blue floral: Fresh and calming
- Taupe stripes: Classic and clean
- Geometric designs: Modern edge with soft colors
Keep your large patterns subtle. Bold prints can overpower beige walls. Small to medium patterns integrate your wall color, furniture, and decor smoothly. They tie the whole room together without fighting for attention.
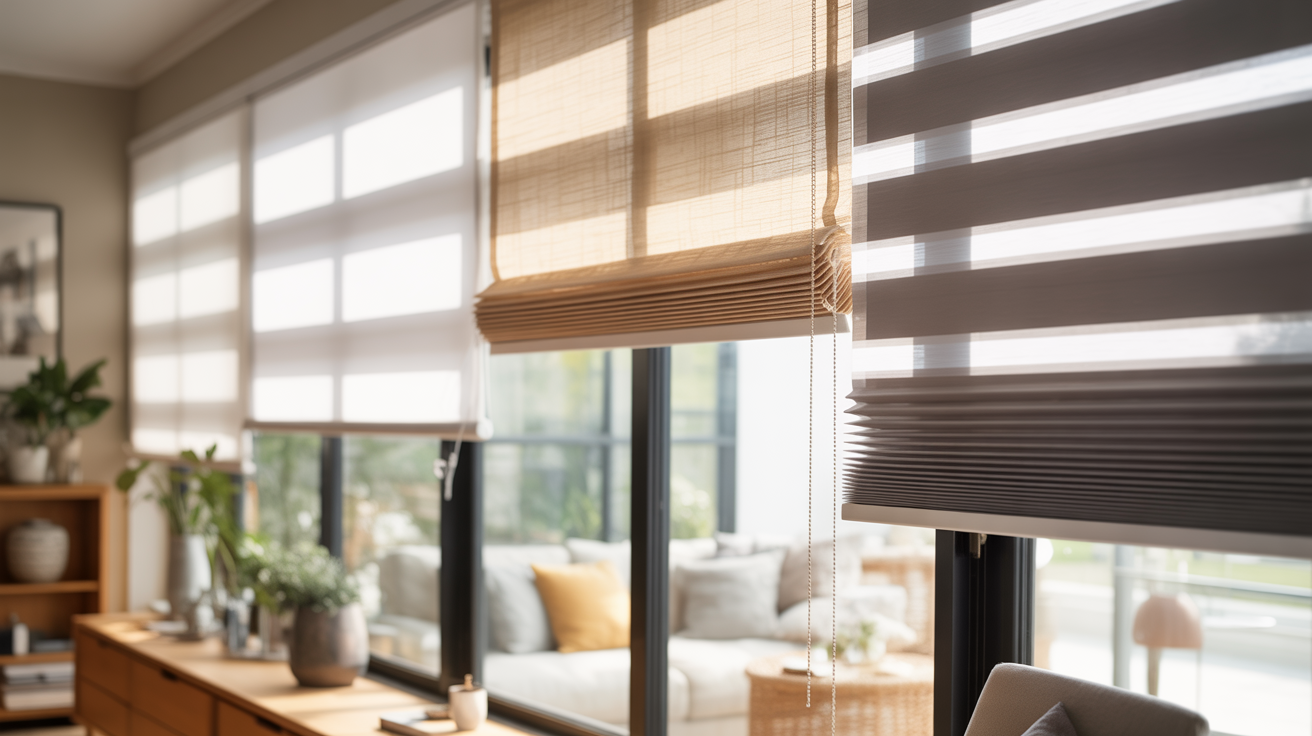
Curtain Textures
Texture changes everything. The same color feels completely different when you switch fabrics.
- Linen: Breezy and relaxed, perfect for light-filled rooms
- Velvet: Adds depth and formality to luxurious spaces
- Sheer: Softens harsh light while keeping rooms open
- Blackout: Controls privacy and temperature in bedrooms
Choose based on your room’s purpose. Bedrooms need different textures than living rooms. Linen works for casual spaces. Velvet enhances formal areas. You can even layer sheers with blackout curtains for ultimate control.
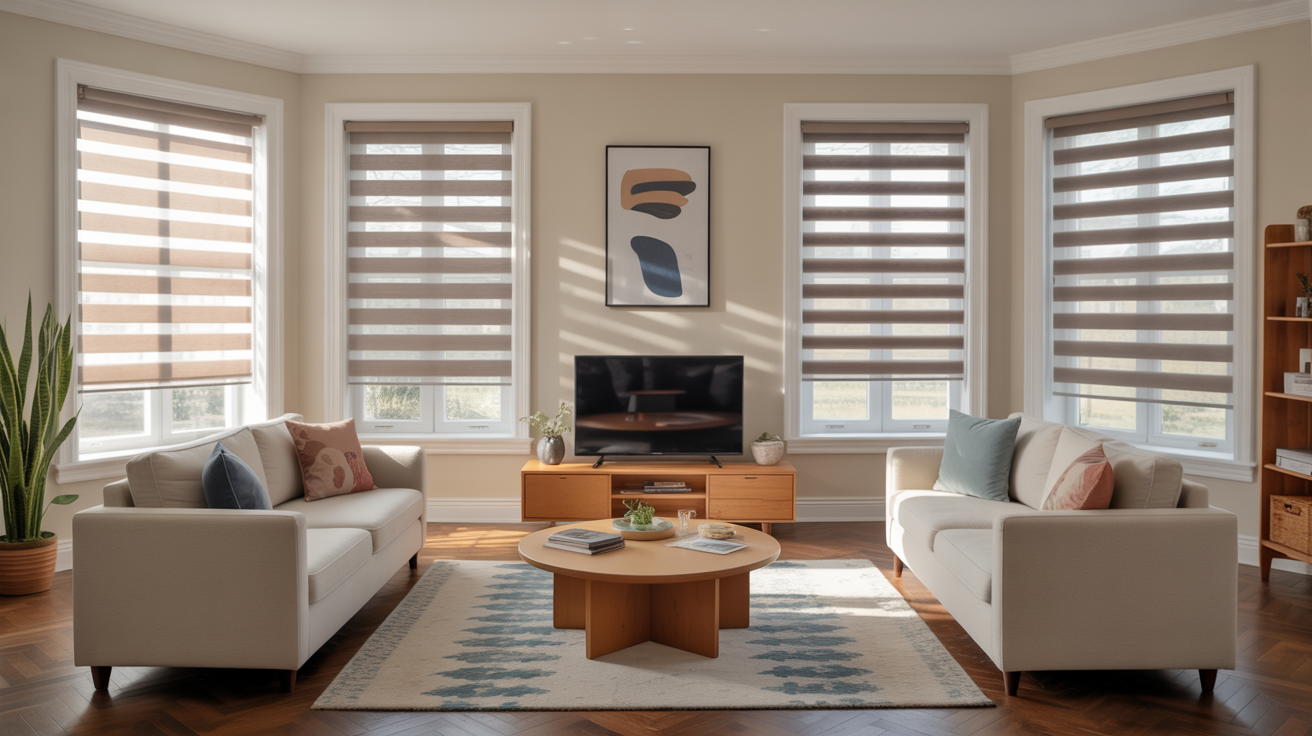
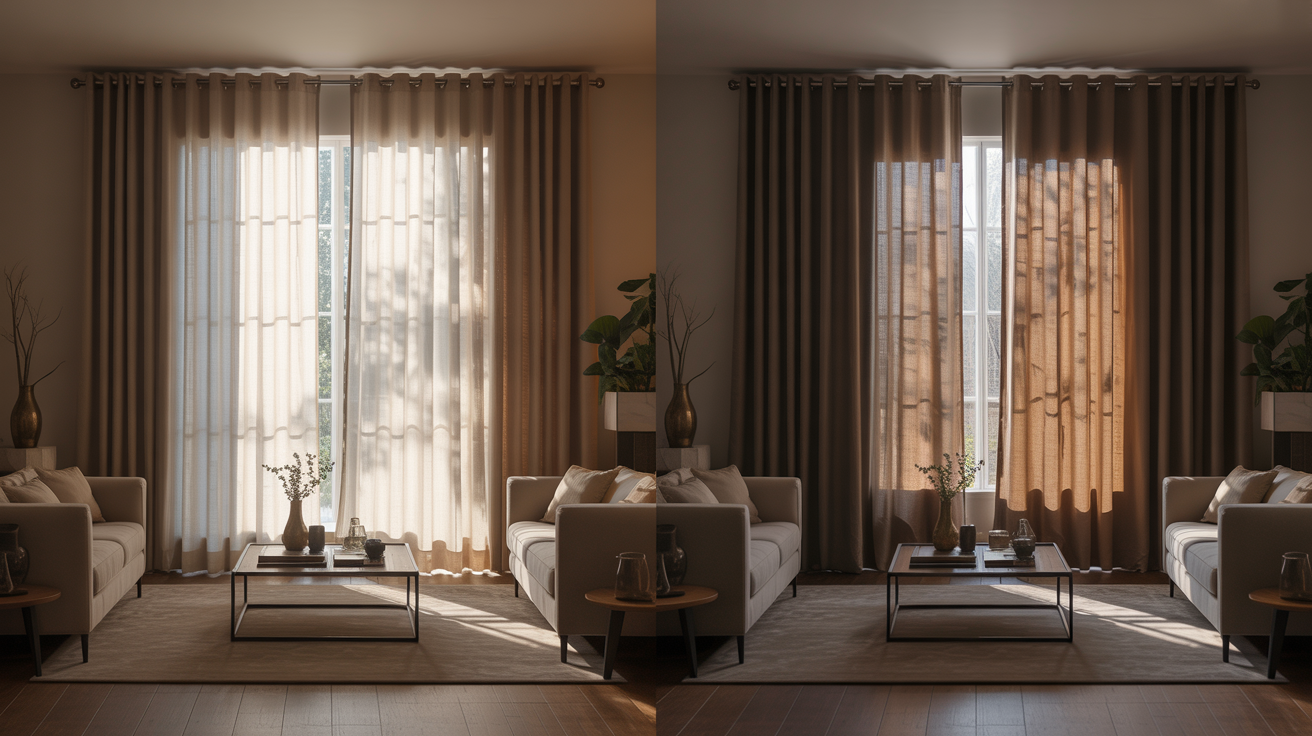
Design and Styling Tips
I’ve learned that small design choices make the biggest difference. You don’t need complicated rules. Just follow these simple tips.
- Light and shadow: Pair beige walls with lighter curtains for openness, or use darker shades to frame windows and create visual focus.
- Accessories matter: Coordinate curtain tiebacks, rods, and trims with your furniture finishes, metallic finishes like gold, bronze, or matte black echo other decor accents.
- Function meets style: Choose layered treatments like sheer with blackout for flexibility, and match textures like linen with wood or velvet with metal for harmony.
Conclusion
You now know what color curtains go with beige walls and have seven solid options to choose from. White keeps things bright and classic. Navy and gray add modern contrast. Sage green and pink bring softness. The right choice depends on your lighting, furniture, and personal style.
Your beige walls aren’t boring anymore. You have a clear plan and the confidence to pick curtains that actually work. Trust your gut once you understand the basics, and don’t overthink it.
Found this helpful? Drop a comment below and tell me which color you’re choosing. If you’re still deciding between two options, describe your space and I’ll share my thoughts. And if this guide made curtain shopping easier, share it with a friend who’s stuck in the same decorating dilemma.
Frequently asked questions
What color curtains go best with beige walls?
White, cream, gray, navy blue, sage green, and soft pink curtains all pair beautifully with beige walls. White and cream create a light, airy feel. Gray and navy add modern contrast. Sage green and pink bring warmth. Choose based on your room’s lighting and style.
Should curtains be lighter or darker than beige walls?
Both work well. Lighter curtains (white, cream, light gray) make rooms feel larger and brighter. Darker curtains (navy, charcoal, forest green) add drama and help anchor the space. Consider your room size and natural light when deciding.
Do white curtains look good with beige walls?
Yes, white curtains create a classic, timeless look with beige walls. They brighten the space and make ceilings appear higher. Choose warm white for warmer beige tones, or crisp white for cooler beige shades to maintain color harmony.
Can I use patterned curtains with beige walls?
Absolutely. Beige walls are neutral and handle patterns beautifully. Try stripes, florals, or geometric prints that include beige plus one accent color. Patterns add visual interest without overwhelming the space since beige provides a calm backdrop.
What curtain color makes beige walls look modern?
Charcoal gray, navy blue, or black curtains instantly modernize beige walls. These darker shades create a strong contrast and contemporary edge. For a softer modern style, try light gray or greige curtains with clean lines and minimal hardware.